qTest provides 14 days’ free trials to business emails with a few basic features; this can be accessed bya maximum of four users. qTest has a range of plans as well with different advanced features and add-ins. The cost depends on the number of users.
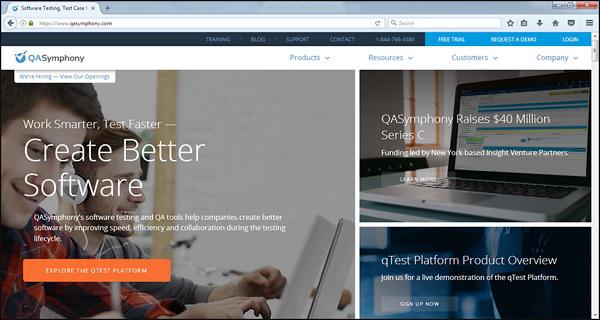
By visiting https://www.qasymphony.com, you can view the different plans that are available on trial basis.
Let us now discuss how to set up for free trials. Follow these steps to understand the setup −
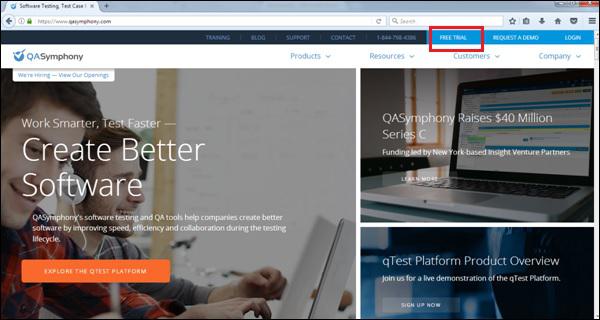
Step 1 − Visit https://www.qasymphony.com and click Free Trial tab on the right hand side of the menu bar as shown in the following screenshot.
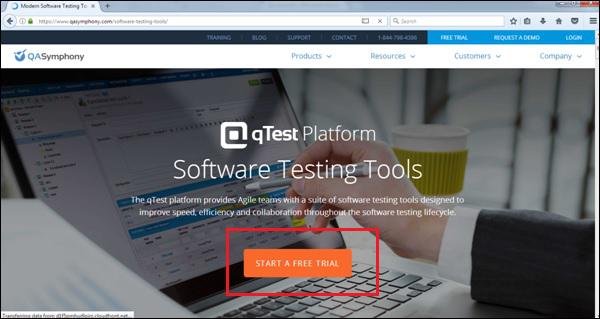
Step 2 − Click the “Start Free Trial” button.
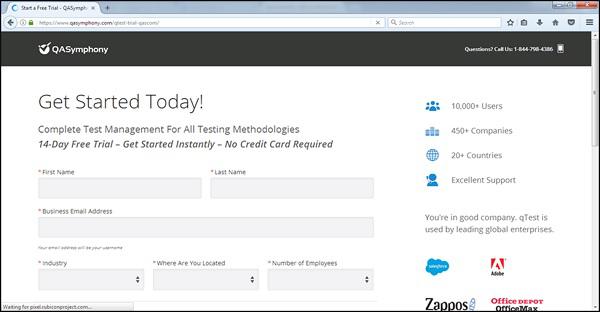
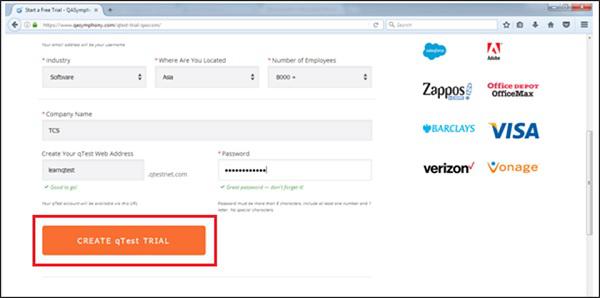
Step 3 − It opens a basic form to create a qTest account. Enter the following details as shown in the following screenshots.
First Name
Last Name
Business Email − Please note, it doesn’t accept gmail, yahoo, and outlook IDs. It should be a business email. The same email can be used as the username to access qTest.
Industry
Where are you located
Number of Employees
Company Name
Create your qTest web address − It should be unique and this URL will be used to access the qTest application
Password − To authenticate access of this URL
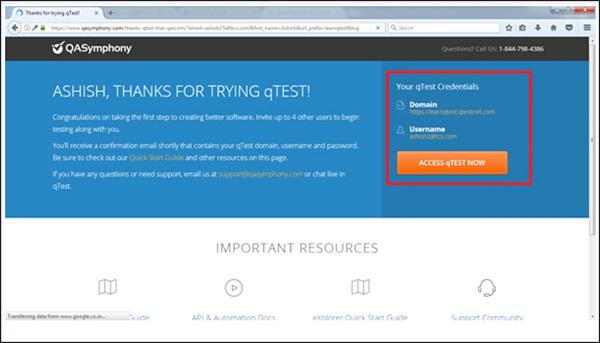
Step 4 − After entering all details, click CREATE qTest TRIAL button as shown in the above screenshot. It will display a Thank you page for the New User as in the following screenshot. You can see the entered Domain and Username with the Access qTest NOW button.
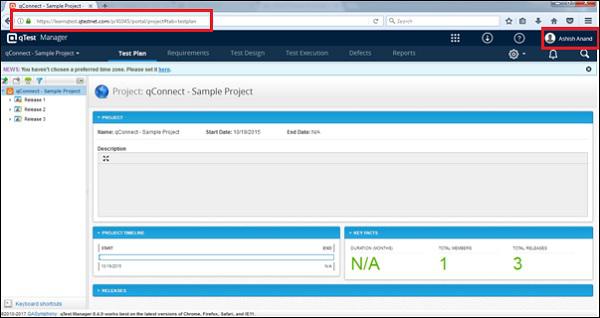
Step 5 − Now, click the Access qTEST NOW button. It will display the Dashboard of qTest. It has access to the URL that was entered while creating the free trials.