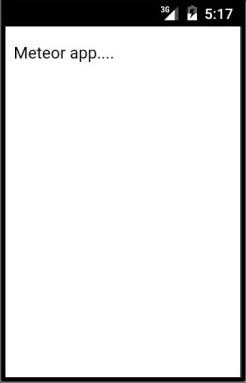
In this chapter, we will learn how to run the app on an android device. Meteor just recently added this functionality for windows operating system, so we will need to update our meteor app to 1.3 beta version.
Note − By the time of writing this tutorial, the 1.3 version of Meteor is in Beta. We will update this once the production version is released.
Since we want to use the newest Meteor version, we can update it by running the following code in the command prompt window.
C:\Users\username\Desktop\meteorApp>meteor update --release 1.3-beta.11
Use the link in the following table to install Android SDK.
Sr.No. | Software & Description |
---|---|
1 | Java Development Kit & Android SDK You will need Android SDK to be able to run Meteor apps on mobile environment. If you don't have it installed, you can checkout our Android Environment Setup tutorial. |
Now, we need to add an Android platform to our project.
C:\Users\username\Desktop\meteorApp>meteor add-platform android
To run the app on an Android emulator, we will use the –verbose command at the end of the line to be able to identify the possible errors during the startup process.
C:\Users\username\Desktop\meteorApp>meteor run android --verbose
Since Android emulators are slow, it is always a better option to run your app directly on your device. You can do it by connecting the device to your computer, enabling the developers’ mode and USB debugging.
This process is different for specific devices. You need to find Build Number in settings/About and tap seven times. You will get a notification that you are the developer and the Developer Options will be unlocked.
Search through your settings again and enable USB debugging.
You can run Meteor app on your mobile device using the following command in the command prompt.
C:\Users\username\Desktop\meteorApp>meteor run android-device