Meteor - Accounts


Advertisements

This package allows complete user authentication functionality. You can add it by running the following code in the command prompt window.

C:\Users\username\Desktop\meteorApp>meteor add accounts-password

Authentication Example

This example will show basic authentication. We will create register, login, and home templates. If there is a currentUser (if the user is successfully registered or logged in), the home template will be shown. If there is no currentUser, the register and login templates will be visible.

meteorApp.html

<head>
   <title>meteorApp</title>
</head>
 
<body>
   {{#if currentUser}}
      {{> home}}
      {{else}}
      {{> register}}
      {{> login}}
   {{/if}}
</body>

<template name = "register">
   <h2>REGISTER:</h2>
   <form>
      <input type = "email" name = "registerEmail"><br>
      <input type = "password" name = "registerPassword"><br>
      <input type = "submit" value = "Register"><br>
   </form>
</template>

<template name = "login">
   <h2>LOGIN:</h2>
   <form>
      <input type = "email" name = "loginEmail"><br>
      <input type = "password" name="loginPassword"><br>
      <input type = "submit" value = "Login"><br>
   </form>
</template>

<template name = "home">
   <p>You're logged in.</p>
   <button class = "logout">Logout</button>
</template>

First, we need to create a register event. This function will read register inputs, create a new user, and store it to the database.

The second event is login. This time the function will read inputs from the login template, log in the user if the email and password are valid or return an error if they aren't.

And finally the logout event will be used for logging out the user, once the button is clicked.

meteorApp.js

if (Meteor.isClient) {

   Template.register.events({
      'submit form': function(event) {
         event.preventDefault();

         var registerData = {
            email: event.target.registerEmail.value,
            password: event.target.registerPassword.value
         }

         Accounts.createUser(registerData, function(error) {
         
            if (Meteor.user()) {
               console.log(Meteor.userId());
            } else {
               console.log("ERROR: " + error.reason);
            }
         });
      }
   });

   Template.login.events({
   
      'submit form': function(event) {
         event.preventDefault();
         var myEmail = event.target.loginEmail.value;
         var myPassword = event.target.loginPassword.value;
			
         Meteor.loginWithPassword(myEmail, myPassword, function(error) {

            if (Meteor.user()) {
               console.log(Meteor.userId());
            } else {
               console.log("ERROR: " + error.reason);
            }
         });
      }
   });

   Template.home.events({

      'click .logout': function(event) {
         event.preventDefault();
			
         Meteor.logout(function(error) {

            if(error) {
               console.log("ERROR: " + error.reason);
            }
         });
      }
   });
}

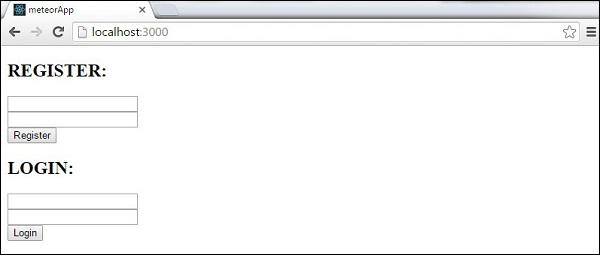
Once the app starts, we will get the following page.

Meteor Accounts Start

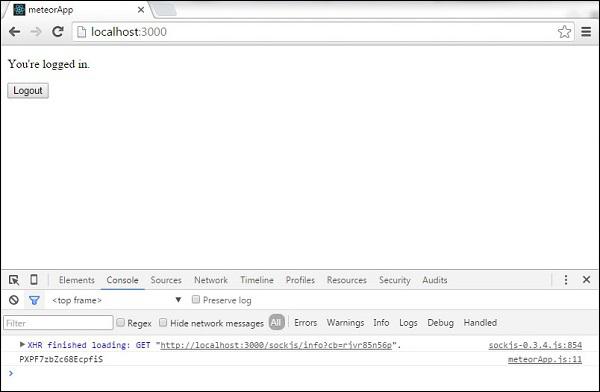
On entering the email and password in the register form, we can register and login the new user. We will see that the console logs the users id and the home template is rendered.

Meteor Accounts Register

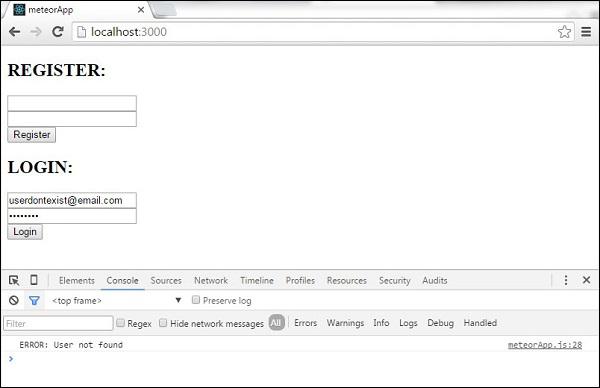
The login event will check the database and log in the user, if the email and password are correct. If not, the console will log an error.

Meteor Accounts Login Error

If the user clicks the LOGOUT button, the app will log the user out and show the register and login templates.

Advertisements