Kibana - Management


Advertisements

The Management section in Kibana is used to manage the index patterns. In this chapter, we will discuss the following −

  • Create Index Pattern without Time filter field
  • Create Index Pattern with Time filter field

Create Index Pattern Without Time Filter field

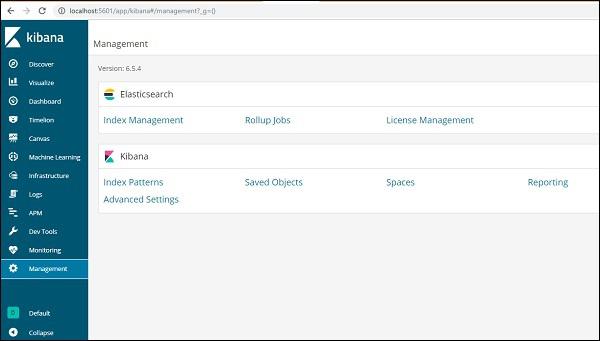
To do this, go to Kibana UI and click Management −

Kibana UI Management

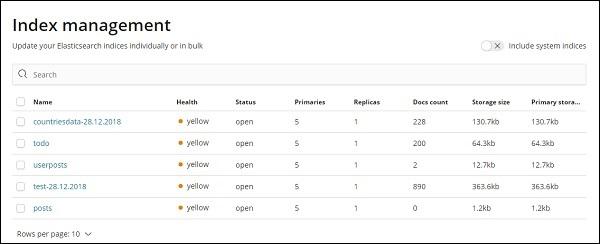
To work with Kibana, we first have to create index which is populated from elasticsearch. You can get all the indices available from Elasticsearch → Index Management as shown −

Elasticsearch Index Management

At present elasticsearch has the above indices. The Docs count tells us the no of records available in each of the index. If there is any index which is updated, the docs count will keep changing. Primary storage tells the size of each index uploaded.

To create New index in Kibana, we need to click on Index Patterns as shown below −

Index Patterns

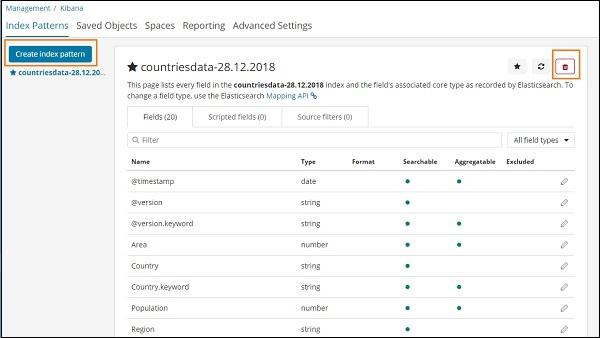
Once you click Index Patterns, we get the following screen −

Index Patterns Screen

Note that the Create Index Pattern button is used to create a new index. Recall that we already have countriesdata-28.12.2018 created at the very start of the tutorial.

Create Index Pattern with Time filter field

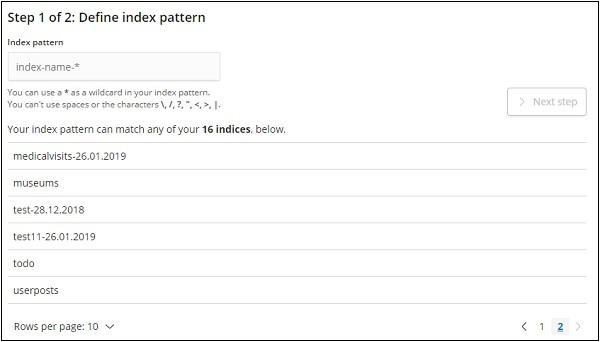
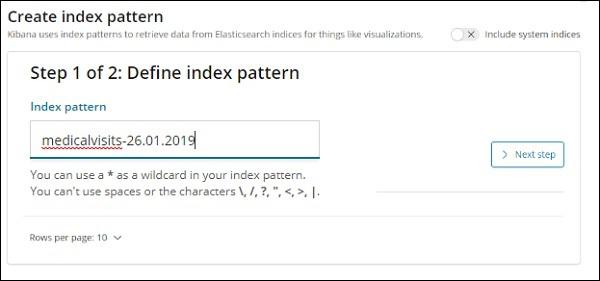
Click on Create Index Pattern to create a new index.

Time filter field

The indices from elasticsearch are displayed, select one to create a new index.

Create Index Pattern

Now, click Next step.

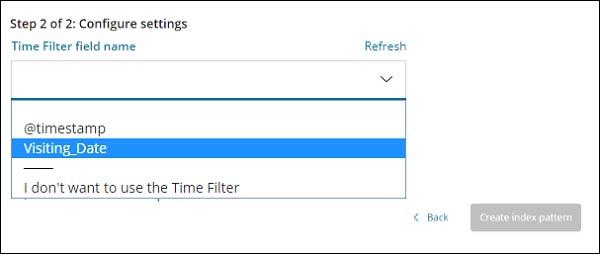
The next step is to configure the setting, where you need to enter the following −

  • Time filter field name is used to filter data based on time. The dropdown will display all time and date related fields from the index.

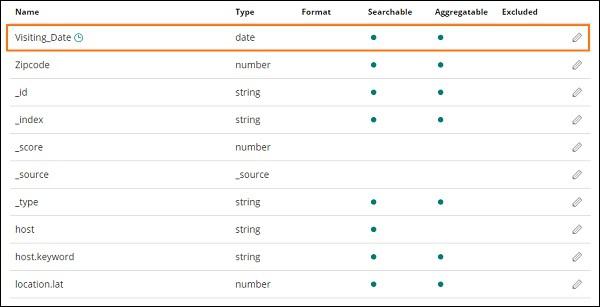
In the image shown below, we have Visiting_Date as a date field. Select Visiting_Date as the Time Filter field name.

Time Filter field name

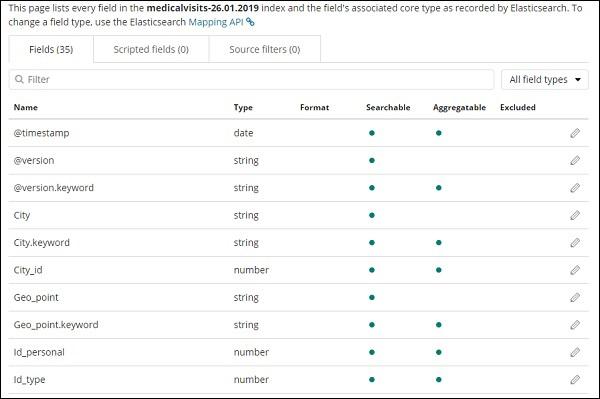
Click Create index pattern button to create the index. Once done it will display all the fields present in your index medicalvisits-26.01.2019 as shown below −

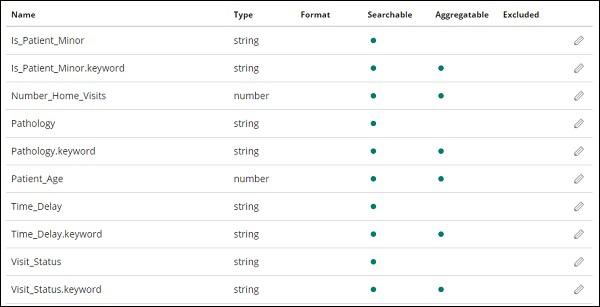
We have following fields in the index medicalvisits-26.01.2019 −

["Visit_Status","Time_Delay","City","City_id","Patient_Age","Zipcode","Latitude 
","Longitude","Pathology","Visiting_Date","Id_type","Id_personal","Number_Home_
Visits","Is_Patient_Minor","Geo_point"].

The index has all the data for home medical visits. There are some additional fields added by elasticsearch when inserted from logstash.

Medical visits

Medical visits logstash

Medical visits elasticsearch

Medical visits elasticsearch
Advertisements