In this chapter, let us learn how to add some index, mapping and data to Elasticsearch. Note that some of this data will be used in the examples explained in this tutorial.
You can use the following command to create an index −
PUT school
If the index is created, you can see the following output −
{"acknowledged": true}
Elasticsearch will store the documents we add to the index as shown in the following code. The documents are given some IDs which are used in identifying the document.
POST school/_doc/10 { "name":"Saint Paul School", "description":"ICSE Afiliation", "street":"Dawarka", "city":"Delhi", "state":"Delhi", "zip":"110075", "location":[28.5733056, 77.0122136], "fees":5000, "tags":["Good Faculty", "Great Sports"], "rating":"4.5" }
{ "_index" : "school", "_type" : "_doc", "_id" : "10", "_version" : 1, "result" : "created", "_shards" : { "total" : 2, "successful" : 1, "failed" : 0 }, "_seq_no" : 2, "_primary_term" : 1 }
Here, we are adding another similar document.
POST school/_doc/16 { "name":"Crescent School", "description":"State Board Affiliation", "street":"Tonk Road", "city":"Jaipur", "state":"RJ", "zip":"176114","location":[26.8535922,75.7923988], "fees":2500, "tags":["Well equipped labs"], "rating":"4.5" }
{ "_index" : "school", "_type" : "_doc", "_id" : "16", "_version" : 1, "result" : "created", "_shards" : { "total" : 2, "successful" : 1, "failed" : 0 }, "_seq_no" : 9, "_primary_term" : 7 }
In this way, we will keep adding any example data that we need for our working in the upcoming chapters.
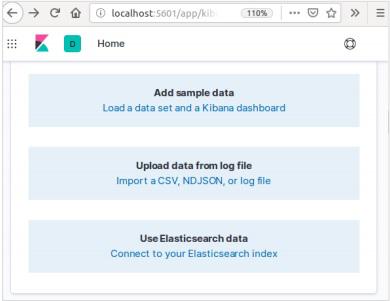
Kibana is a GUI driven tool for accessing the data and creating the visualization. In this section, let us understand how we can add sample data to it.
In the Kibana home page, choose the following option to add sample ecommerce data −
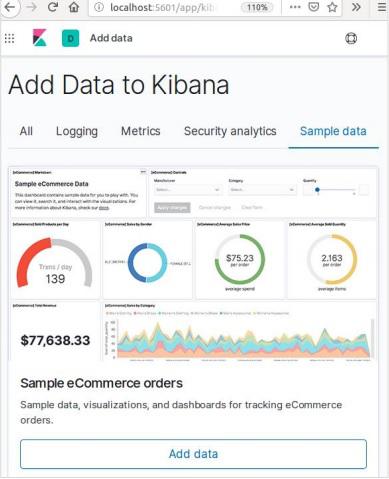
The next screen will show some visualization and a button to Add data −
Clicking on Add Data will show the following screen which confirms the data has been added to an index named eCommerce.