Ubuntu has a Software Center using which you can install a host of applications. The Software Center is designed to search the Internet for available software which can be downloaded and installed.
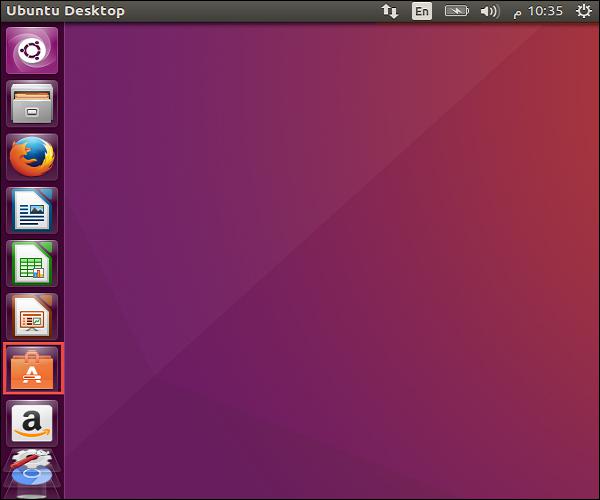
Step 1 − In the control panel, the Software Center appears on the left-hand side of the screen. In the following screenshot, it is encircled in a red box. Double-click to open it.
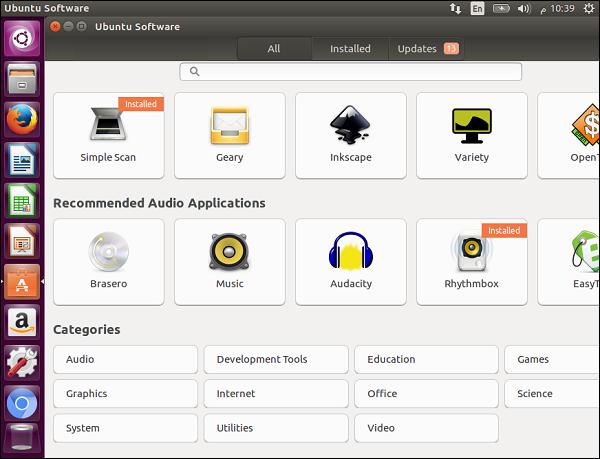
Once open, it shows the following options −
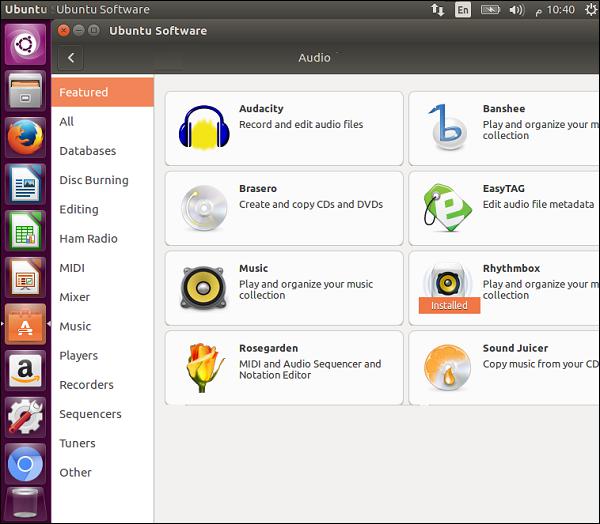
Step 2 − We can also browse through various software categories. For example, let’s click the Audio category. We can see a list of available software for installation. As seen in the following screenshot, the application ‘Rhythmbox’ has already been installed.
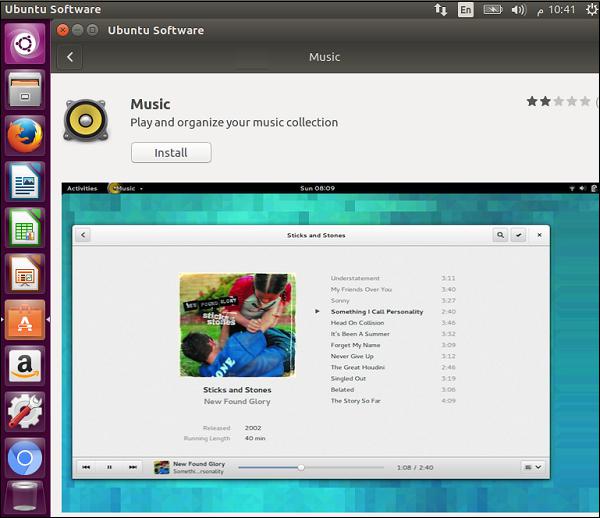
Step 3 − Now let us choose an application, say the Music application and see how it installs.
Step 4 − Once we click the Music application, the following screenshot pops up. Click the Install button to begin the installation.
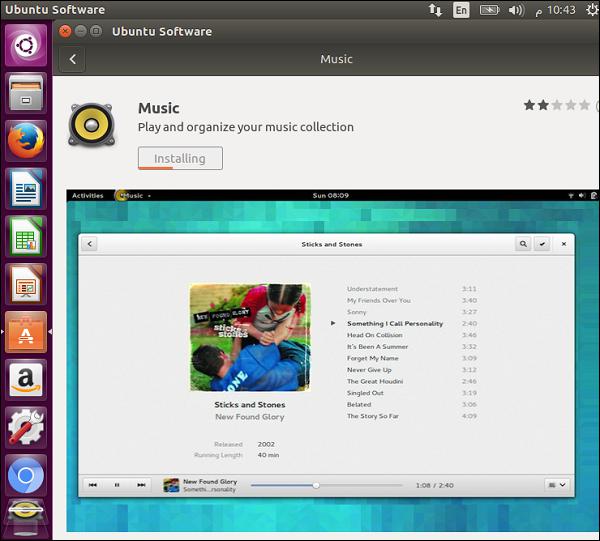
We will then see the Installing progress bar to show that the Music application is being installed.
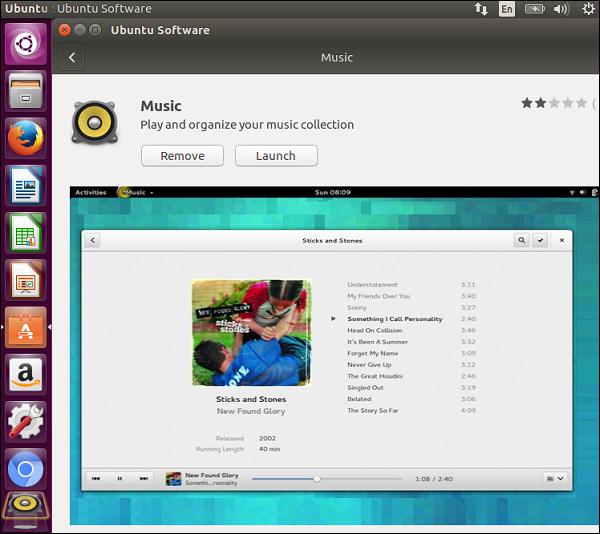
Step 5 − Once the installation is complete, click the Launch button to launch the software.
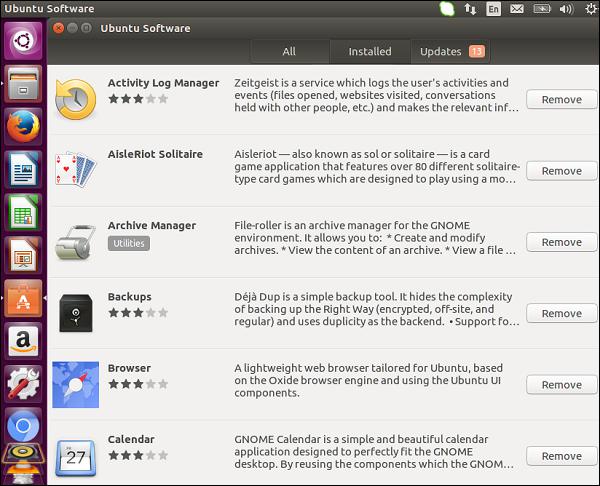
To see the list of already installed software on the machine, go to the Installed section of the Software Center application. This presents an option to remove the unwanted software if required, as shown in the following screenshot.
To remove any unwanted software, click the Remove button associated with the required software.
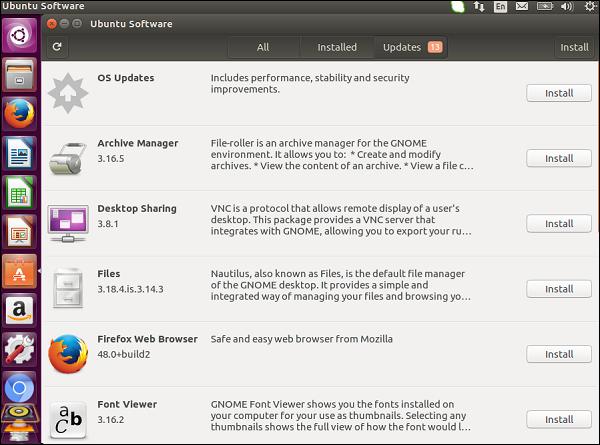
In the updates section, we can install critical updates available for the Ubuntu operating system. This section also shows the updates available for the software already installed on the system.
Click the Install button next to the desired update that needs to be installed.