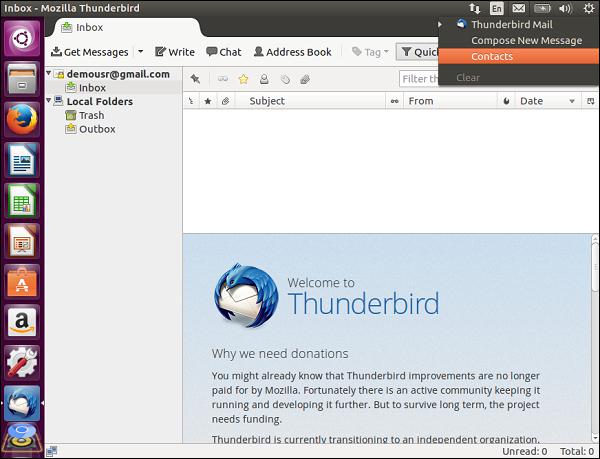
The default email client in Ubuntu is Thunderbird. The following steps show how to start using Thunderbird as the email client software.
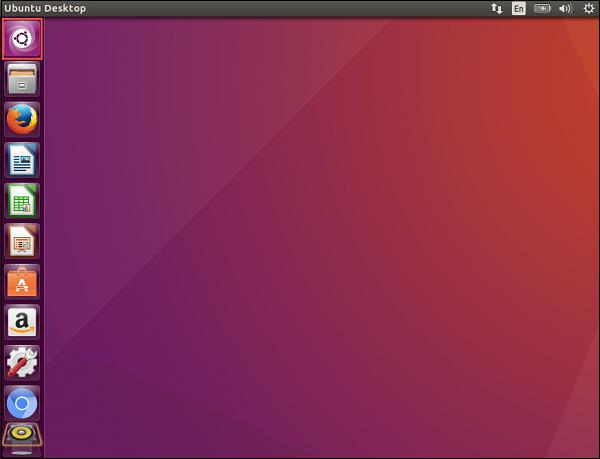
We can quickly search for any application using the Search facility in Ubuntu.
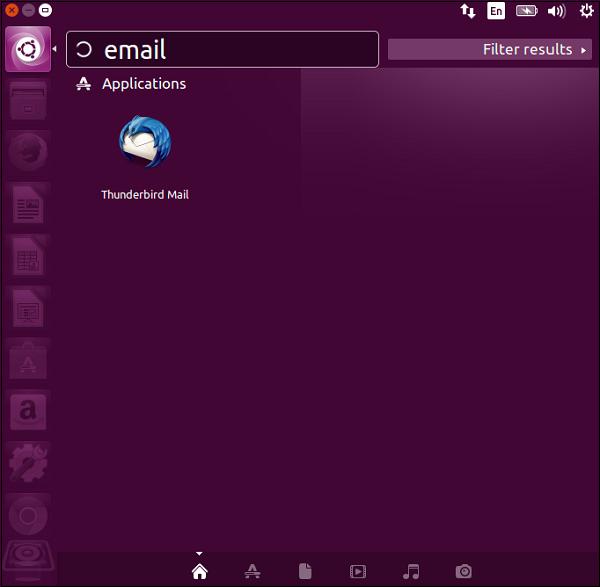
Step 1 − Double-click on the search facility, enter the keyword of email and the search result of Thunderbird email will appear.
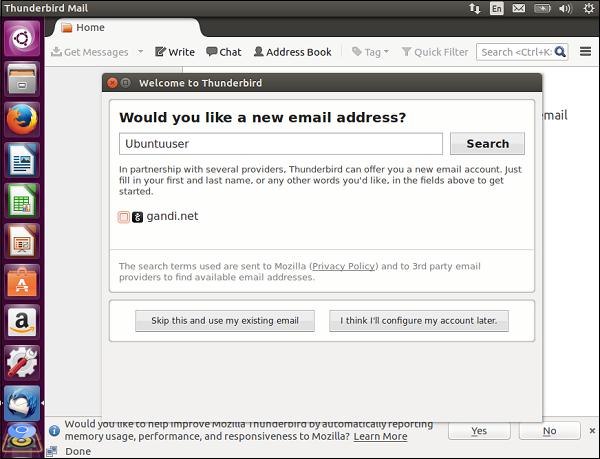
Step 2 − Double-click the search result to launch the Thunderbird mail client. Once the email client is launched, there will be a request to link an email account to the mail client.
Step 3 − Click “Skip this and use my existing email” button, so that we can use the current email credentials.
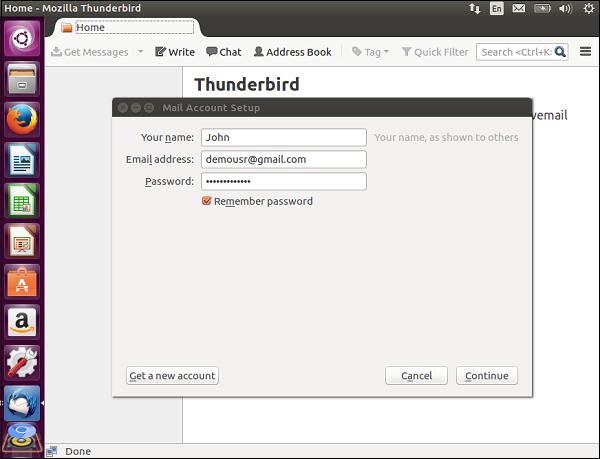
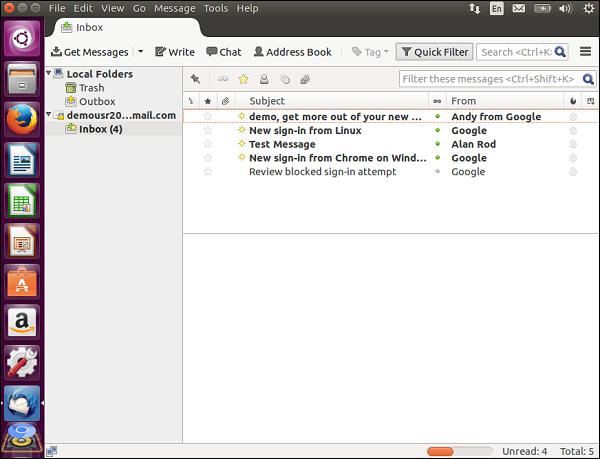
Step 4 − Enter the required credentials and click the Continue button to proceed. Once configured, the email client will then provide the common features for any email client. Now, we will be able to view the Inbox as well as all the messages in the Inbox.
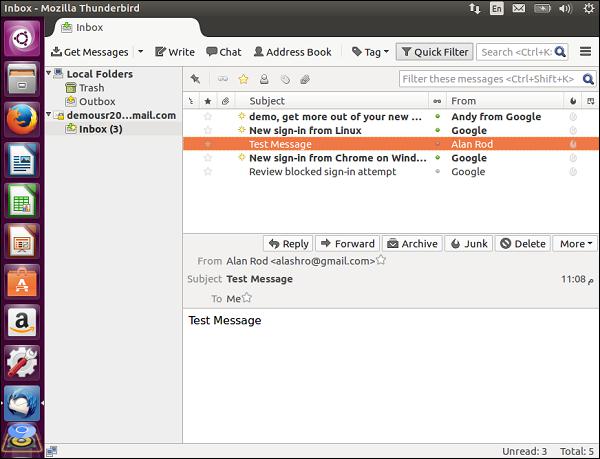
Step 5 − Click any message to get more information on the received email as shown in the following screenshot.
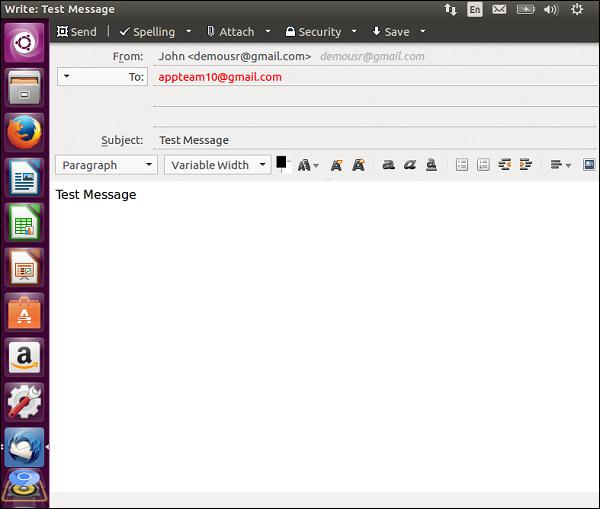
Step 1 − In the Menu option, click the Write option to create a message which needs to be sent.
Step 2 − Enter the message details. Once complete, click the Send Button. Note, there is also an option to spell check and add attachments.
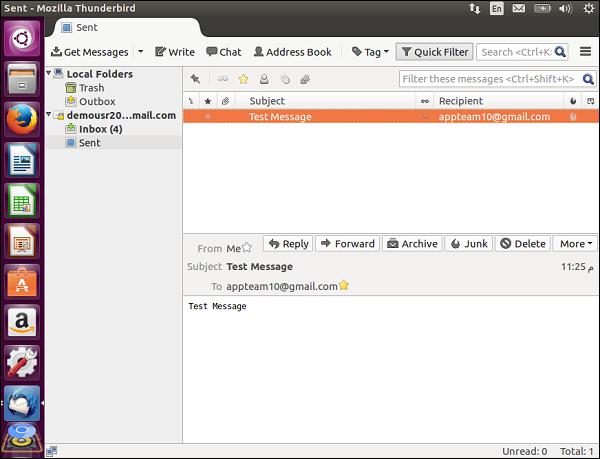
The sent messages will be displayed in the Sent messages section as shown in the following screenshot.
On the right-hand side of the screen, there are shortcuts available to view mail, compose a new message, and view contacts as seen in the following screenshot.