The default browser for Ubuntu is Firefox and the latest version of Ubuntu always comes with the latest version of Firefox. On the desktop, you will see Firefox as the third component on the lefthand side. Double-click the icon to get started.
We can type the address of the site we wish to visit in the address bar and hit enter to get the site loaded. We will get the same user-like experience as in Windows.
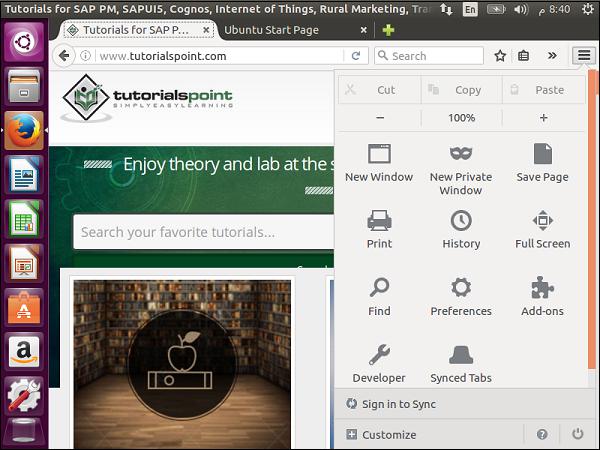
Step 1 − Additional add-ons can be installed by going to the options and choosing the Add-ons option.
Using this option, we can view the add-ons installed and install new ones.
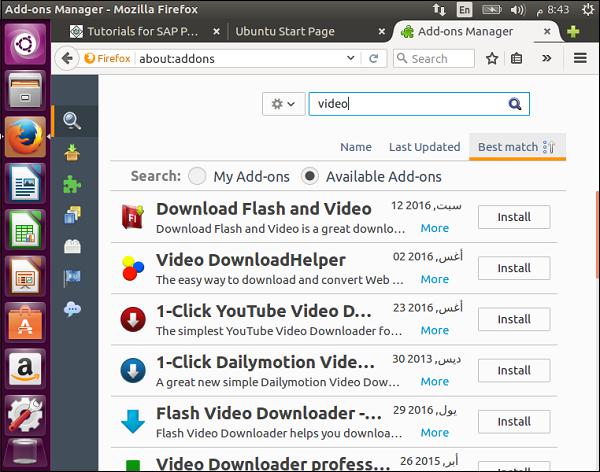
We can search for an add-on and then click the Install button to install an add-on.
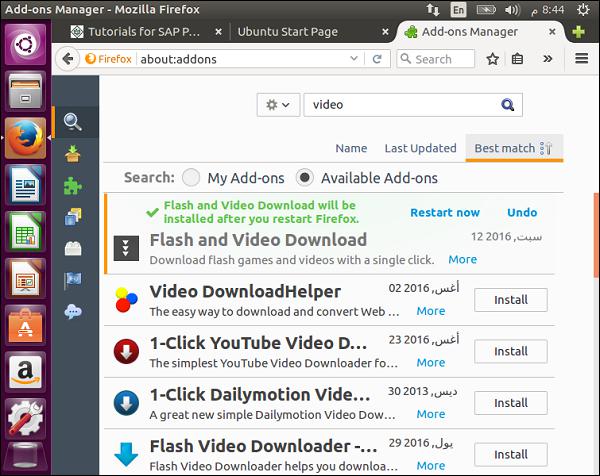
Step 2 − For example, let us install the “Download flash and Video” add-on as shown in the above screenshot. Click the Install button at its side.
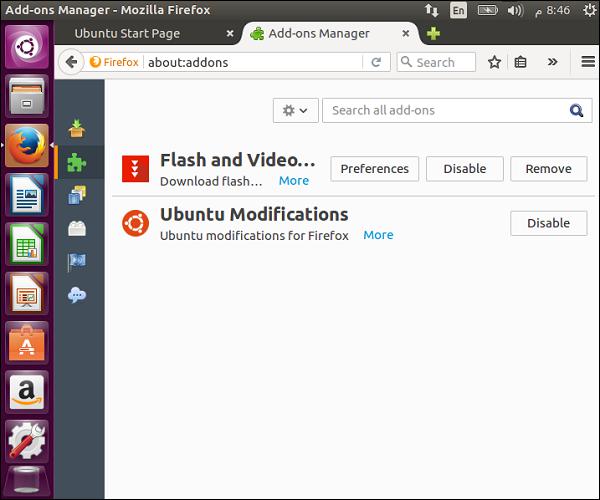
Step 3 − Once done, the browser will prompt for restart. After restarting the browser, go to the Installed Add-ons section. It will show the “Flash and Video Download” add-on installed as seen in the following screenshot.
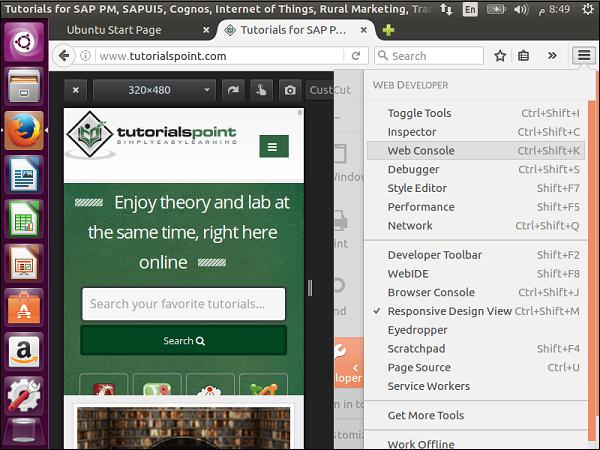
Here, we can see how the browser will adapt to various screen sizes.
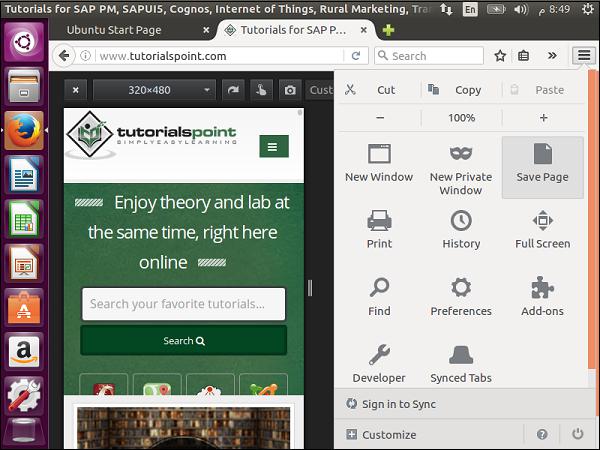
Step 1 − Click Options → Developer.
Step 2 − Click Responsive Design View.
Now, we can view the site in different browser sizes to see if they would respond as they should if they are viewed on different devices.
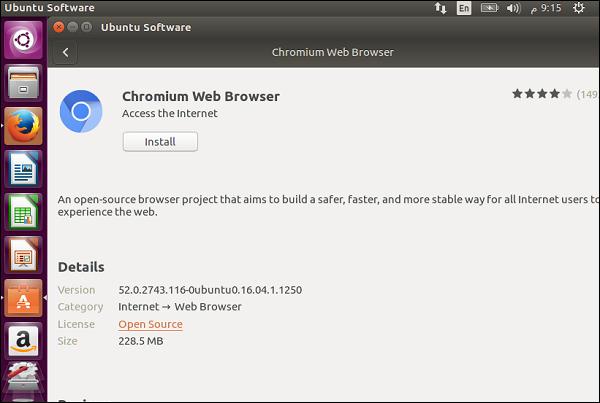
The default application for Chrome usage on Ubuntu is called Chromium. Following are the steps to install Chromium −
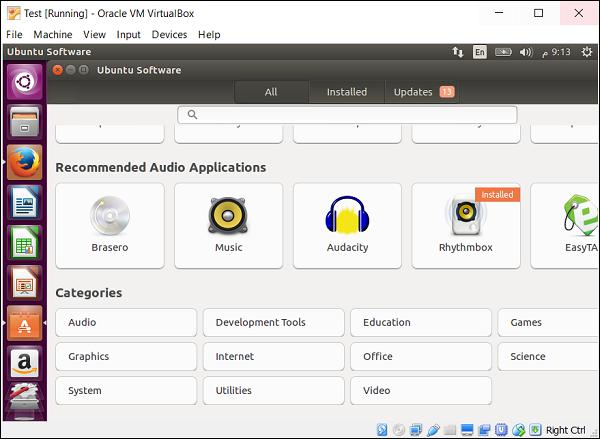
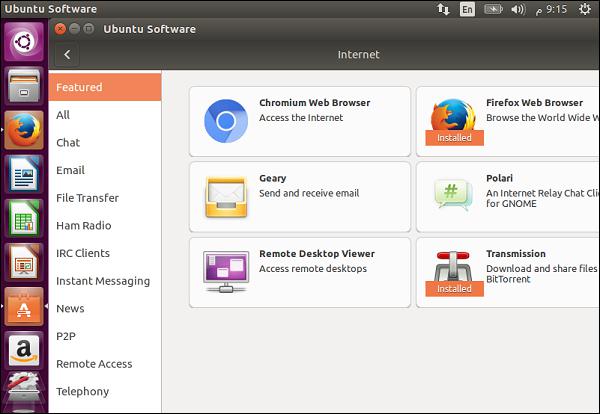
Step 1 − Go to the application manager for Ubuntu and go to the Internet section.
Step 2 − In the following screen, click the Chromium web browser option.
Step 3 − Next, click the Install button to install Chromium.
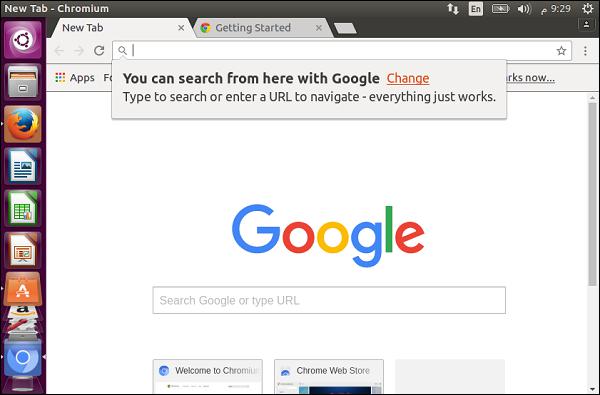
Step 4 − Once the browser is installed, the chromium browser option will appear on the left-hand panel. Use it to launch Chromium.