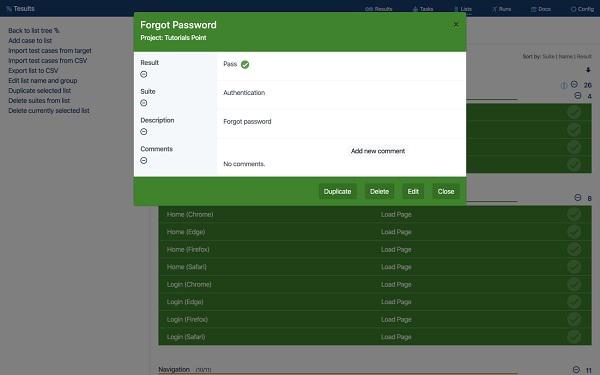
Test lists are used to manage test cases. Store test cases here are to reuse for each of your manual test runs or even for documenting automated tests.
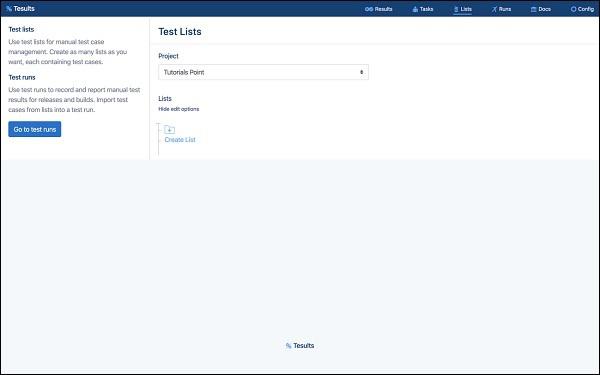
Click ‘lists’ from the menu to enter the Test Lists view.
Click ‘Create List’. Note that you also create a group to begin, groups allow you to organise your test lists. If you are going to create a lot of test lists create groups.
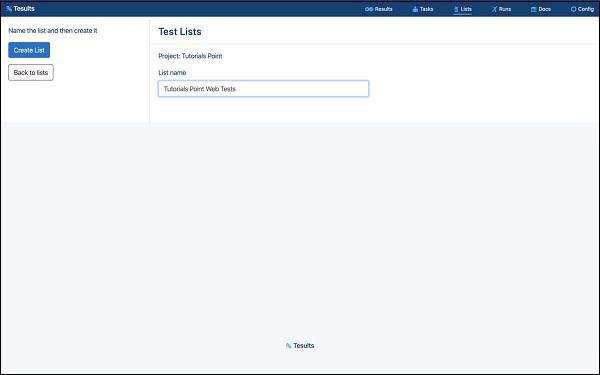
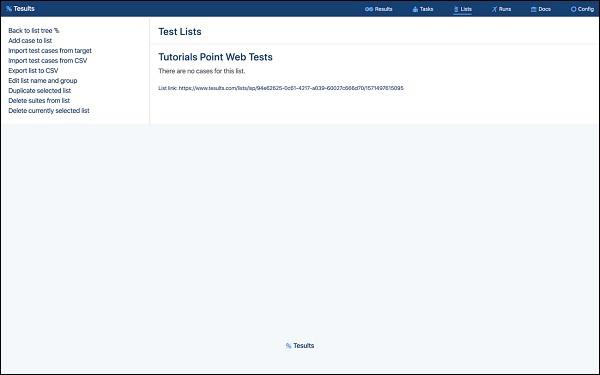
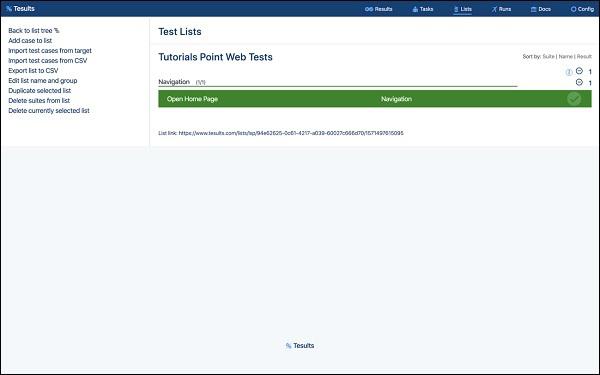
Now, name your test list and confirm. Your list will appear and you can immediately start adding test cases to it.
Adding test cases include three types which are ‘manual’, ‘import from CSV’ and ‘import from target’. Let us begin with understanding about Manual.
Click ‘Add case to list’ to add a test case manually.
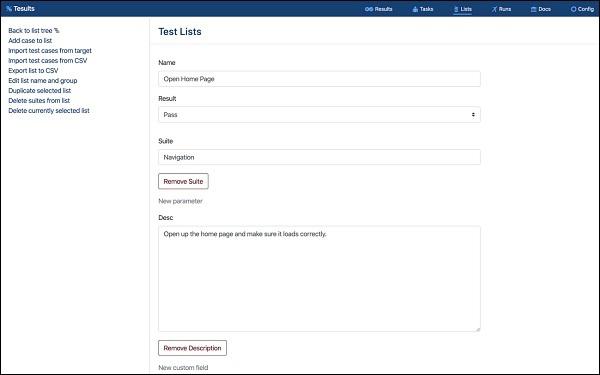
Enter test case details such as −
Click ‘Save Case’ and you will see that the case has appeared in the list.
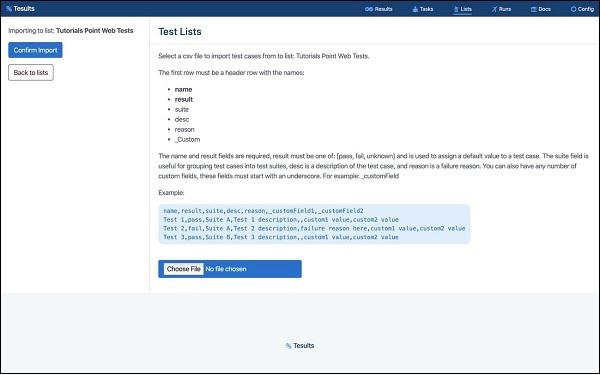
You can also import cases from a csv file.
You need to ensure your csv file has the data laid out such the first row of the columns is the field names.
A third way to import test cases is from a target (existing test results).
Select the target you want to import test cases from.
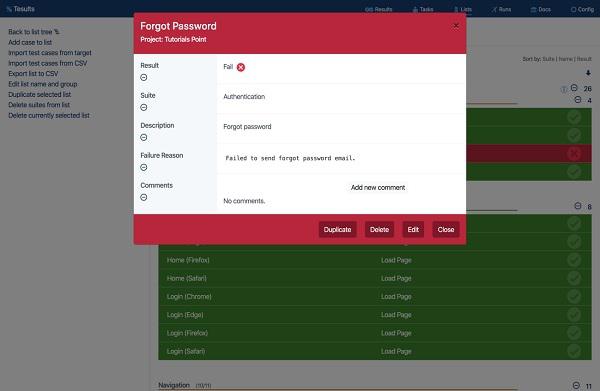
Once your test list has been created and test cases added, you can edit or update test cases by clicking on a specific test case.
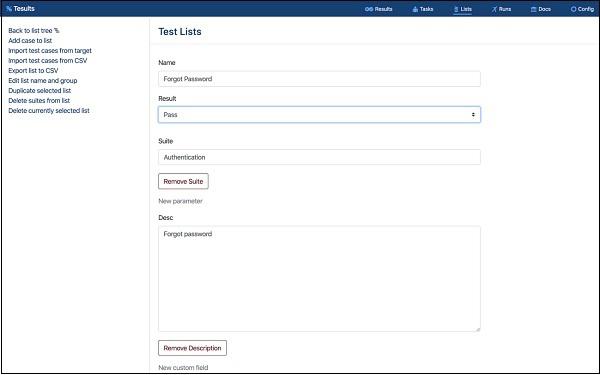
Click ‘Edit’ from the footer of the test case.
You can change any field; in this case we change the result from fail to pass.
In the same way, you can delete a test case by clicking ‘Delete’ from the footer of a selected test case.
You can use test lists with manual test runs, how to do this is explained in the next section.