This directive will add a footer bar at the bottom of the screen.
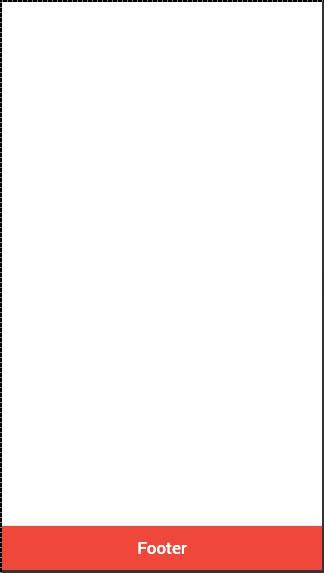
The Ionic footer can be added by applying an ion-footer-bar class. Working with it is same as working with header. We can add a title and place it on the left, center or right side of the screen by using the align-title attribute. With the prefix bar, we can use the Ionic colors. Let us create a red colored footer with the title in the center.
<ion-footer-bar align-title = "center" class = "bar-assertive"> <h1 class = "title">Title!</h1> </ion-footer-bar>
The above code will produce the following screen −
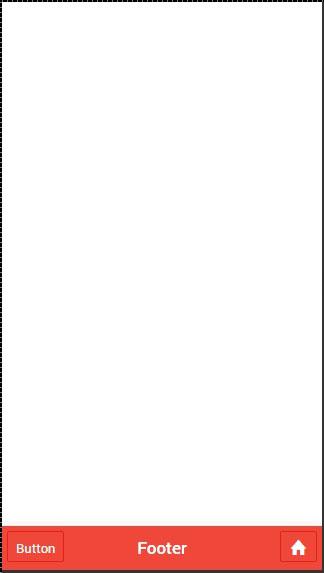
We can add buttons icons or other elements to the ion-footer-bar and their styling will be applied. Let us add a button and an Icon to our footer.
<ion-footer-bar class = "bar-assertive"> <div class = "buttons"> <button class = "button">Button</button> </div> <h1 class = "title">Footer</h1> <div class = "buttons"> <button class = "button icon ion-home"></button> </div> </ion-footer-bar>
The above code will produce the following screen−
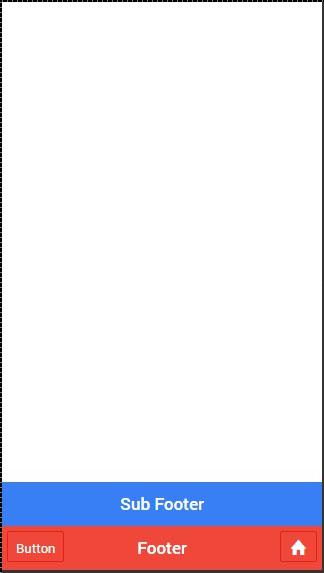
We showed you how to use a sub header. The same way a sub footer can be created. It will be located above the footer bar. All we need to do is add a bar-subfooter class to our ion-footer-bar element.
In example that follows, we will add the sub-footer above the footer bar, which we previously created.
<ion-footer-bar class = "bar-subfooter bar-positive"> <h1 class = "title">Sub Footer</h1> </ion-footer-bar> <ion-footer-bar class = "bar-assertive"> <div class = "buttons"> <button class = "button">Button</button> </div> <h1 class = "title">Footer</h1> <div class = "buttons" ng-click = "doSomething()"> <button class = "button icon ion-home"></button> </div> </ion-footer-bar>
The above code will produce the following screen −