The SoapUI project is the central point in all SoapUI testing. Once the project is created, the user can create and run functional tests, load tests, create mock services, and much more.
In this chapter, we will discuss two things - How to −
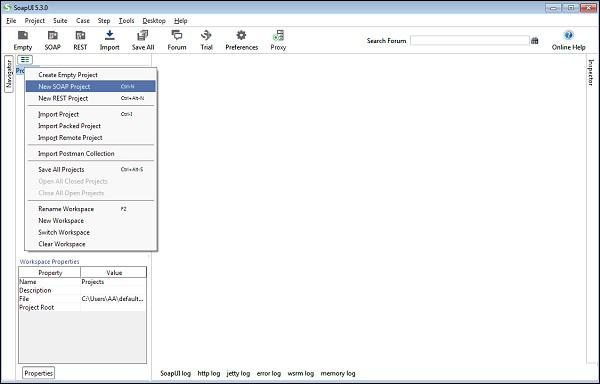
Step 1 − In the navigator on the left side of the screen, right-click on the “Project” and select “New SOAP Project”.
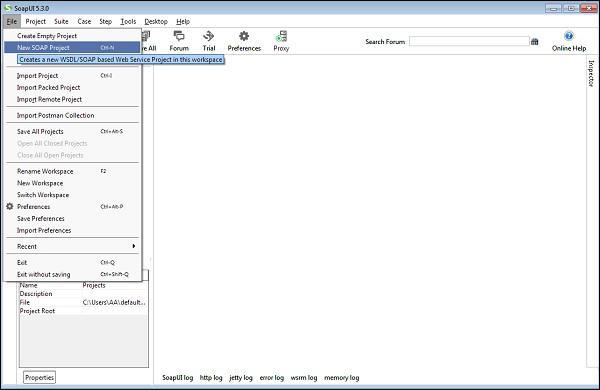
Or go to File and select New Soap Project.
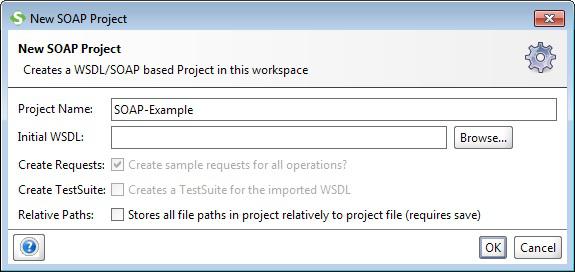
On selection, a new pop-up window opens -New Soap Project.
Step 2 − Project Name: Enter a project name - it is the user input field. Initial WSDL: It is not mandatory. It depends on the user. The user can provide WSDL or add after the creation of Project.
In this case, we create a project and add the WSDL later.
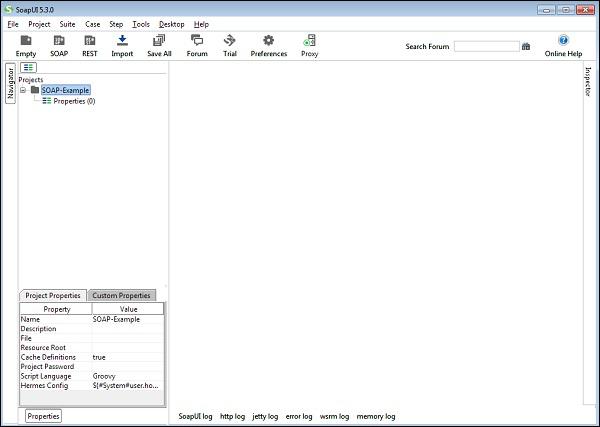
Step 3 − Click OK. It will create a new project and will be visible on the left side navigation panel.
SOAP Projects are based on WSDL. It is not necessary to start by importing a WSDL, but it makes testing easier since the WSDL contains all information that is required to test a webservice such as information about the requests and responses, what they contain and much more, which simplifies SoapUI testing.
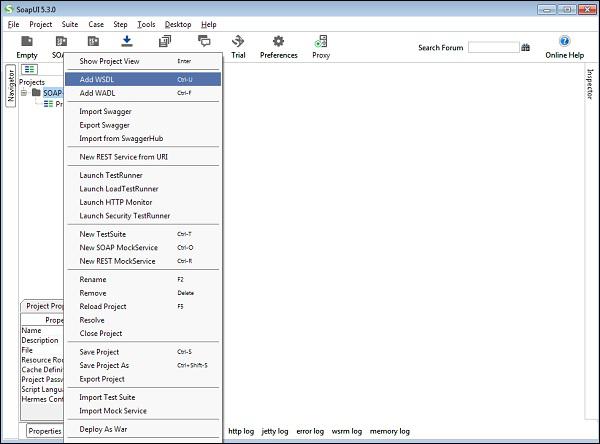
Step 1 − To add a WSDL, right-click on the Project name (SOAP – Example) and select Add WSDL.
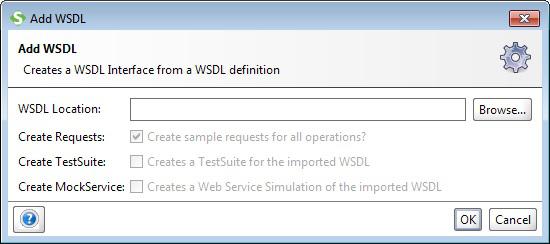
On selection, WSDL wizard is displayed.
Step 2 − WSDL Location: Enter a WSDL as http://www.webservicex.com or browse it from the computer.
Step 3 − As soon as WSDL is entered, 3 checkboxes – Create Requests, Create TestSuite, Create MockServices will be enabled. Based on requirement, the user can check one or multiple checkboxes.
By default, the checkbox of Create Requests is checked.
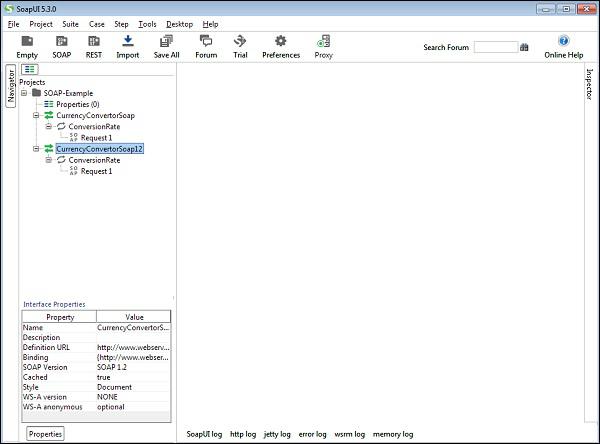
Step 4 − Click OK. WSDL is added successfully in the Project. It can be verified by observing the left navigation panel. Inside the project, there are multiple operations, and requests are added according to WSDL.
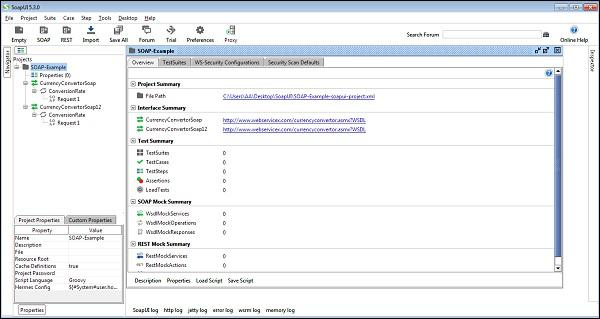
To get more details of the Project, double-click the Project Name, it will open a new window with various details.
In Overview tab, various information is provided such as −
File Path − It displays the location of the saved project xml.
Interface Summary − Interface name and WSDL associated with it.
Test Summary − It displays test suites, test cases, test steps, assertions added to the project.
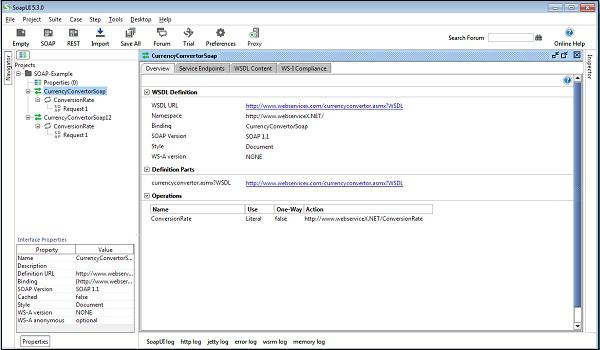
The user can double-click the Interface Name to get the interface details. It will open a new window and display the WSDL related information. These are very useful for browsing and examining a WSDL.
In Overview tab, it lists WSDL Definitions, Definition parts, and Operation details.
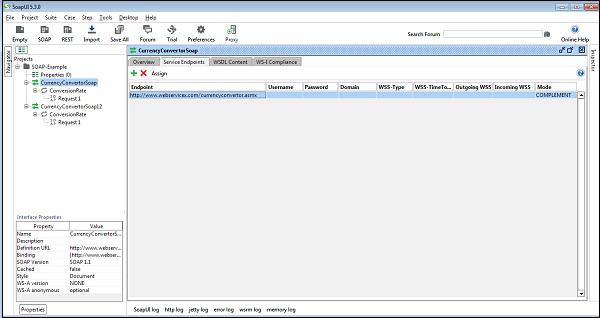
Similarly, Service Endpoints lists the details of endpoints.
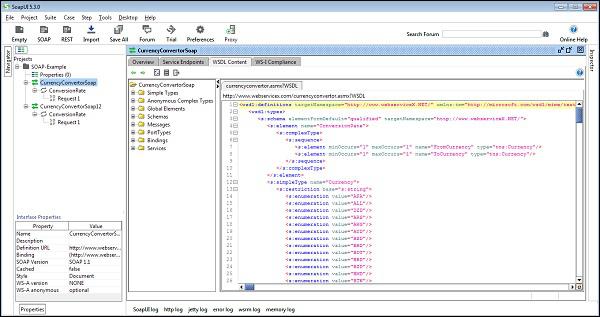
In WSDL Content tab, all details of WSDL in XML/schema format are provided as shown in the following screenshot.