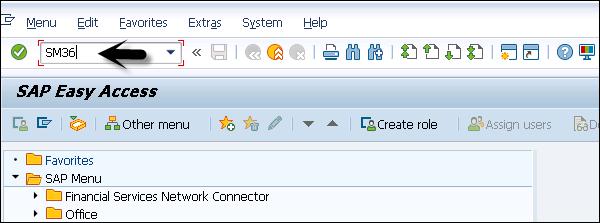
Background jobs are jobs in the SAP system that run in the background without affecting the normal operations in the system. Background jobs are used to reduce the manual effort and to automate the process. They can run in the background without any user input and can be scheduled to run when the system load is low.
Background jobs can be divided into three categories −
Class A (High Priority) − This is used for urgent or critical task and must be scheduled with class A priority job. Class A job reserves one or more background work processes.
Class B (Medium Priority) − These jobs are executed after the completion of Class A high priority jobs.
Class C (Low Priority − These job runs once class A and class B jobs are completed.
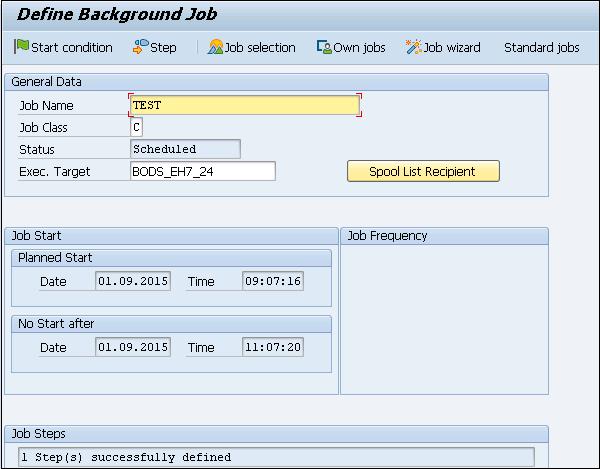
In general data, enter the following details to create a background job −
Enter the Job Name
Priority/Job Class
Select the Target server on which you want to execute the job. This is used for load balancing. You can define the target server on which you want to run the job.
Using Spool List Recipient, enter the email id if you want to get the results in email.
To define the steps for execution, go to Step tab. Enter the program name, Variant name in the field. If you have not created variant as per your requirement, then leave it blank. Click on the save button at the bottom.
To pass the start condition, enter the start date, end date, frequency, etc. In case, the start condition is not specified, then the job will remain in the scheduled state and will not run. Various options can be used to define the start condition. To create a periodic job, select the box at the bottom.
Once schedule is defined, click the Save button to save the job. You can define different Scheduling options −
Immediate − To immediately run the job.
Date/Time − You can add a date and time to run the job.
After Job − You can also schedule this job after a particular job is completed.
After Event − You can also add a schedule when a specific event is triggered.
At Operation Mode − You can also add a schedule in the operation mode.
To un-schedule a job so that it doesn’t run in future, you have to release the job. To unschedule a job, use Transaction Code: SM37
Note − When a job is in the Active state, it can’t be unscheduled till it’s completed.
Step 1 − Enter the job name and the user name.
Step 2 − To un-schedule a job, select Released and Ready from the status tab.
Step 3 − Enter the Job start condition and Select Execute button at the top as shown in following screenshot.
The following screenshot will confirm that job is released as well as other details of the job.