Entity Framework - Environment Setup


Advertisements

What’s New in Entity Framework 6?

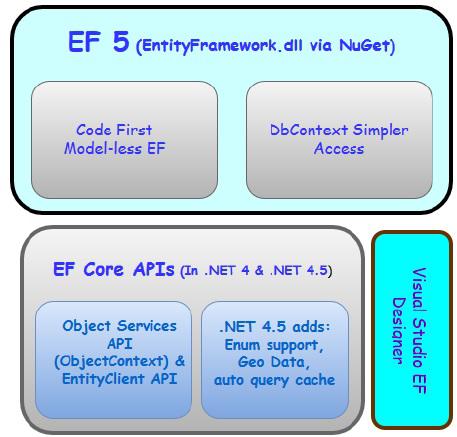
Framework has a complex API that lets you have granular control over everything from its modeling to its runtime behavior. Part of Entity Framework 5 lives inside of .NET. And another part of it lives inside of an additional assembly that's distributed using NuGet.

  • The core functionality of Entity Framework is built into the .NET Framework.

  • The Code First support, that's what lets Entity Framework use classes in lieu of a visual model, and a lighter way API for interacting with EF are in the NuGet package.

  • The core is what provides the querying, change tracking and all of the transformation from your queries to SQL queries as well as from data return into the objects.

  • You can use the EF 5 NuGet package with both .NET 4 and with .NET 4.5.

  • One big point of confusion - .NET 4.5 added support for enums and spatial data to the core Entity Framework APIs, which means if you're using EF 5 with .NET 4, you won't get these new features. You'll only get them when combining EF5 with .NET 4.5.

Framework 6

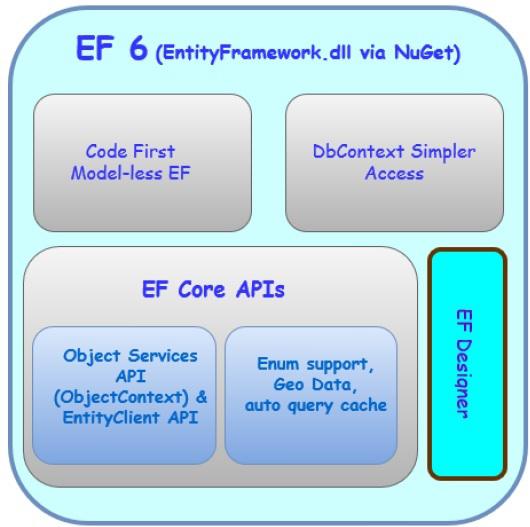
Let us now take a look at Entity Framework 6. The core APIs which were inside of .NET in Entity Framework 6 are now a part of NuGet package.

Entity Framework 6

It means −

  • All of the Entity Framework lives insides this assembly that's distributed by NuGet

  • You won't be dependent on .NET to provide specific features like the Entity Framework enum support and special data support.

  • You'll see that one of the features of EF6 is that it supports enums and spatial data for .NET 4

To start working on Entity Framework you need to install the following development tools −

  • Visual Studio 2013 or above
  • SQL Server 2012 or above
  • Entity Framework updates from NuGet Package

Microsoft provides a free version of visual studio which also contains SQL Server and it can be downloaded from www.visualstudio.com.

Installation

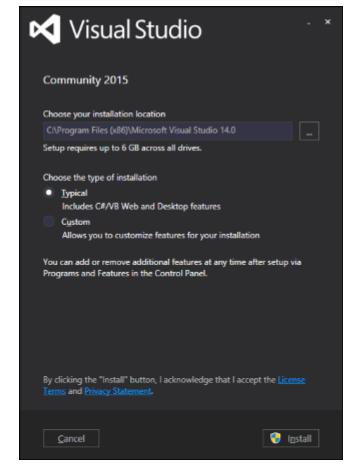
Step 1 − Once downloading is complete, run the installer. The following dialog will be displayed.

Visual Studio Installer

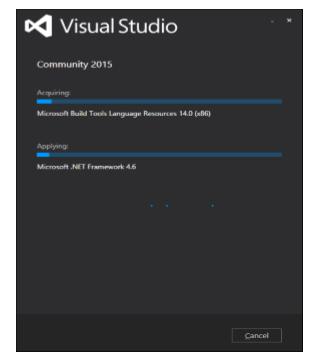
Step 2 − Click on the Install button and it will start the installation process.

Installation Process

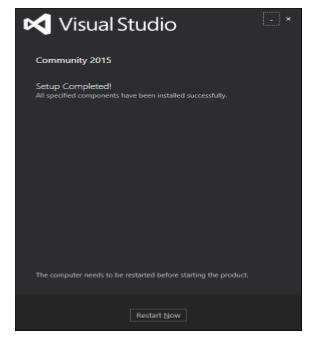
Step 3 − Once the installation process is completed successfully, you will see the following dialog. Close this dialog and restart your computer if required.

Setup Completed

Step 4 − Open Visual Studio from start Menu which will open the following dialog. It will be a while for the first time for preparation.

Visual Studio

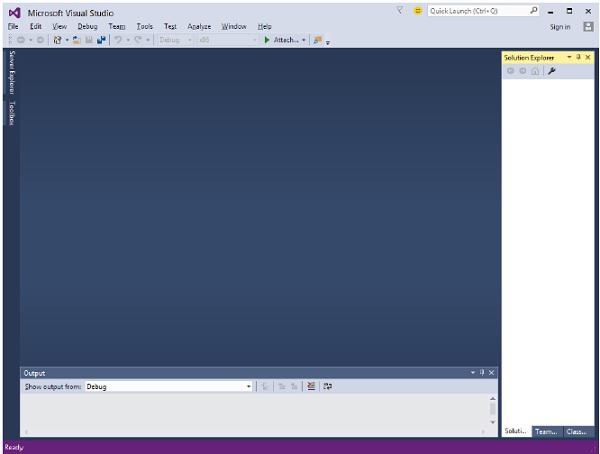
Step 5 − Once all is done you will see the main window of Visual studio.

Main Window

Let’s create a new project from File → New → Project

New Project

Step 1 − Select Console Application and click OK button.

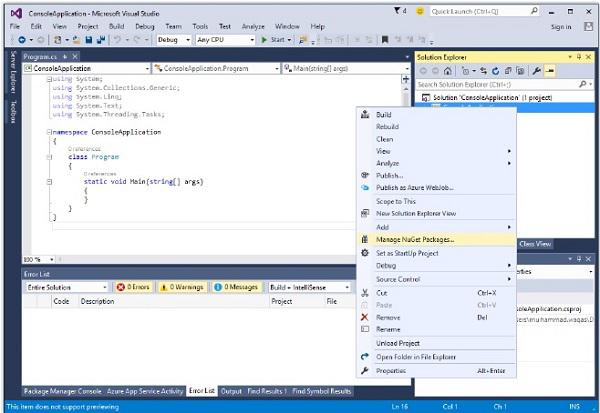
Step 2 − In solution Explorer, right-click on your project.

Console Application

Step 3 − Select Manage NuGet Packages as shown in the above image, which will open the following window in Visual Studio.

Visual Studio 1

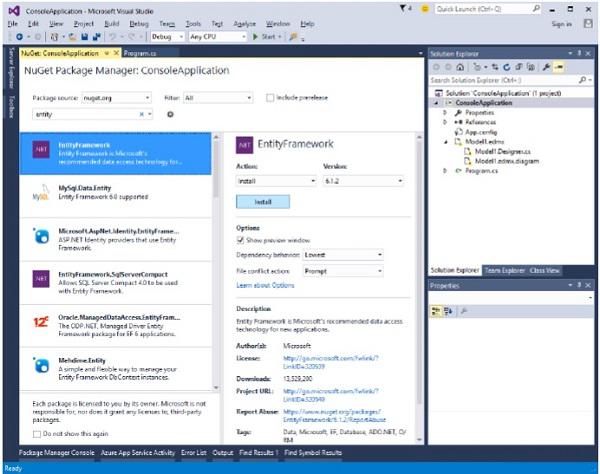
Step 4 − Search for Entity Framework and install the latest version by pressing the install button.

Preview

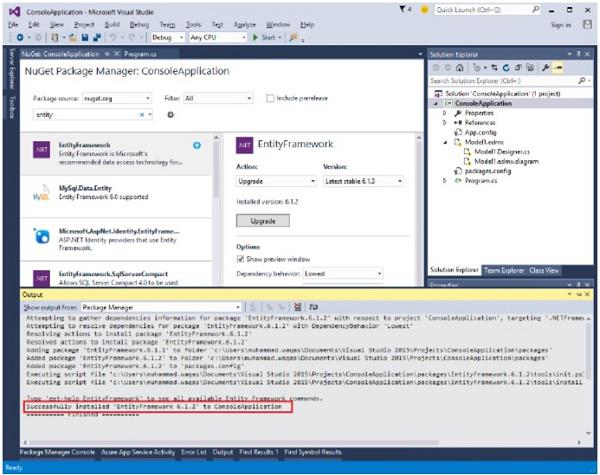
Step 5 − Click Ok. Once installation is done, you will see the following message in your output Window.

Output Window

You are now ready to start your application.

Advertisements