The next important step is to ensure that the solution builds on the build server. The first part is a manual step, because before the continuous integration tool is used, we first must ensure that the build gets run on the build server in the same manner as what was done on the client machine. To do this, we must implement the following steps −
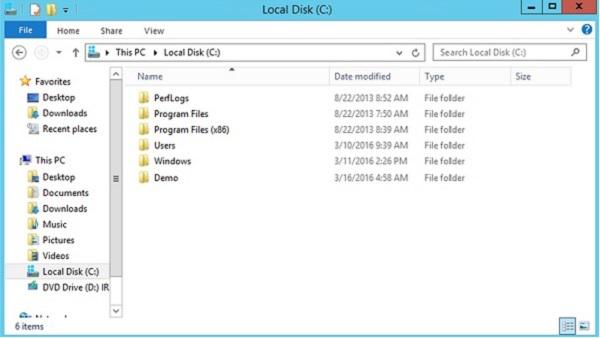
Step 1 − Copy the entire solution file to the server. We had created an Amazon instance server which would be used as our build server. So, do a manual copy to the server of the entire .Net solution onto the server.
Step 2 − Ensure that the framework is present on the server. If you have compiled your application in .Net framework 4.0 on your client machine, you have to ensure that it is installed on the server machine as well. So go to the location C:\Windows\Microsoft.NET\Framework on your server and ensure the desired framework is present.
Step 3 − Now let’s just run MSBuild on the server and see what happens.
Ok, so it looks like we have hit an error. There is one important lesson in Continuous Integration and that is you need to ensure that the Build works on the build server. For this you need to ensure that all prerequisite software is installed on the build server.
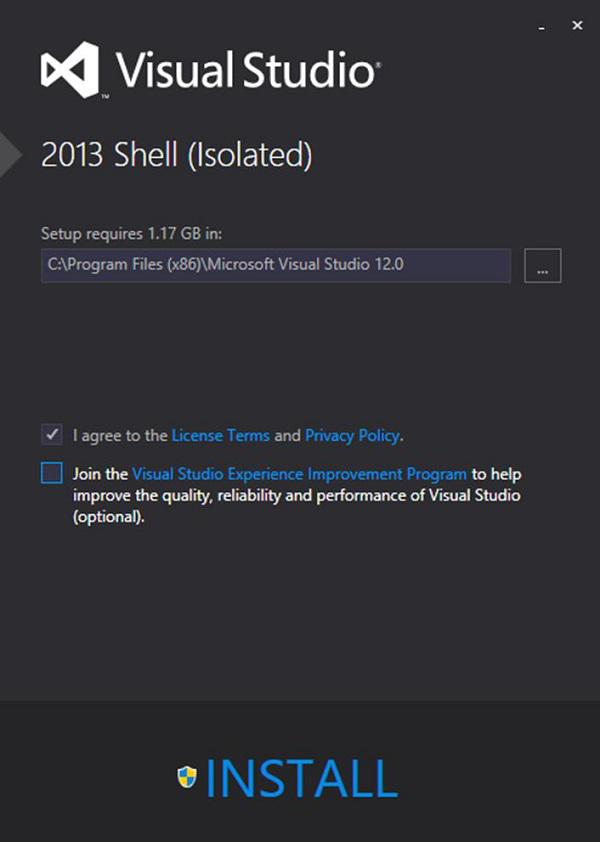
For .Net, we need to install a component called Visual Studio Redistributable package. This package contains all the necessary files which are required for a .Net application to build on a server. So let’s carry out the following installation steps on the build server.
Step 4 − Double-click the executable file to start the installation.
Step 5 − In the next step, agree to the License Terms and click Install.
Step 6 − Now when running MSBuild, we need to ensure that we include an additional parameter when calling MSBuild which is – p:VisualStudioversion = 12.0. This ensures that MSBuild references those files that were downloaded in the earlier step.
Now we can see that the solution has been built properly and we also know our baseline project builds correctly on the server.