Teradata provides Teradata express for VMWARE which is a fully operational Teradata virtual machine. It provides up to 1 terabyte of storage. Teradata provides both 40GB and 1TB version of VMware.
Since the VM is 64 bit, your CPU must support 64-bit.
Step 1 − Download the required VM version from the link, https://downloads.teradata.com/download/database/teradata-express-for-vmware-player
Step 2 − Extract the file and specify the target folder.
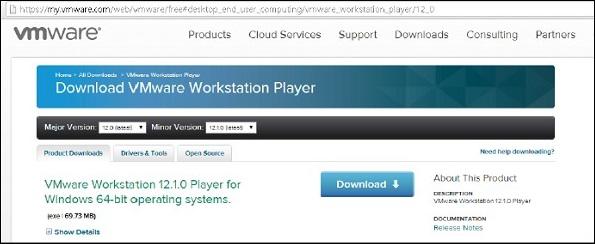
Step 3 − Download the VMWare Workstation player from the link, https://my.vmware.com/web/vmware/downloads. It is available for both Windows and Linux. Download the VMWARE workstation player for Windows.
Step 4 − Once the download is complete, install the software.
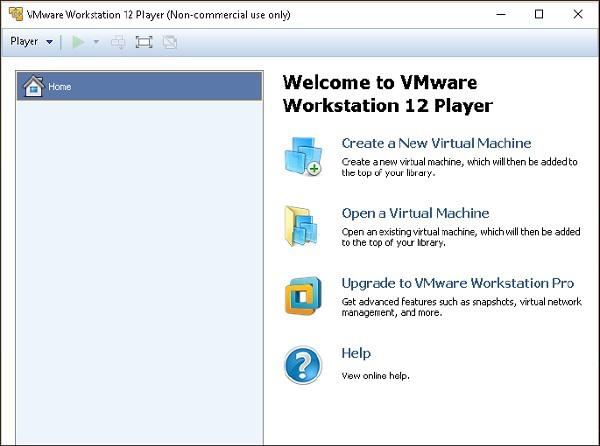
Step 5 − After the installation is complete, run the VMWARE client.
Step 6 − Select 'Open a Virtual Machine'. Navigate through the extracted Teradata VMWare folder and select the file with extension .vmdk.
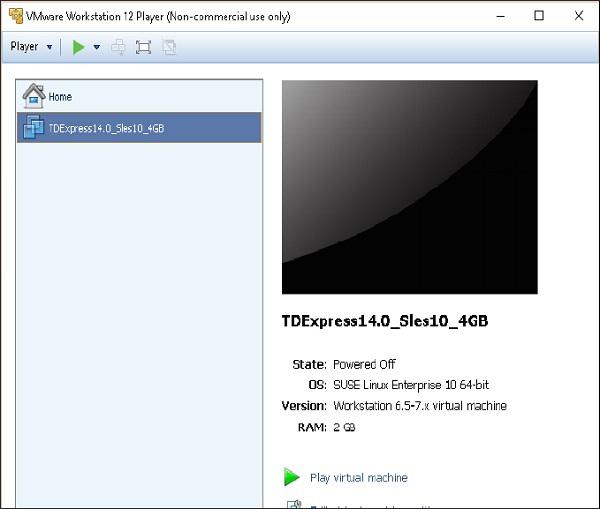
Step 7 − Teradata VMWare is added to the VMWare client. Select the added Teradata VMware and click ‘Play Virtual Machine’.
Step 8 − If you get a popup on software updates, you can select ‘Remind Me Later’.
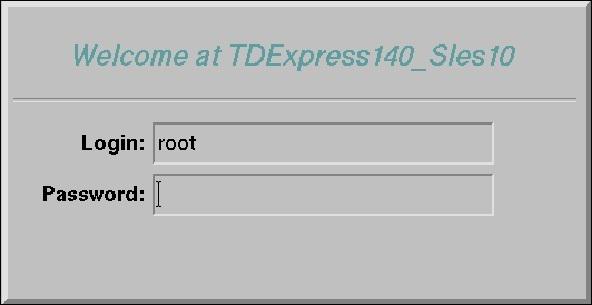
Step 9 − Enter the user name as root, press tab and enter password as root and again press Enter.
Step 10 − Once the following screen appears on the desktop, double-click on ‘root’s home’. Then double-click on ‘Genome’s Terminal’. This will open the Shell.
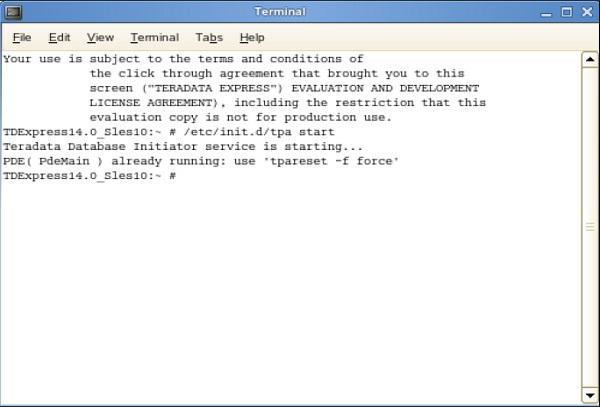
Step 11 − From the following shell, enter the command /etc/init.d/tpa start. This will start the Teradata server.
BTEQ utility is used to submit SQL queries interactively. Following are the steps to start BTEQ utility.
Step 1 − Enter the command /sbin/ifconfig and note down the IP address of the VMWare.
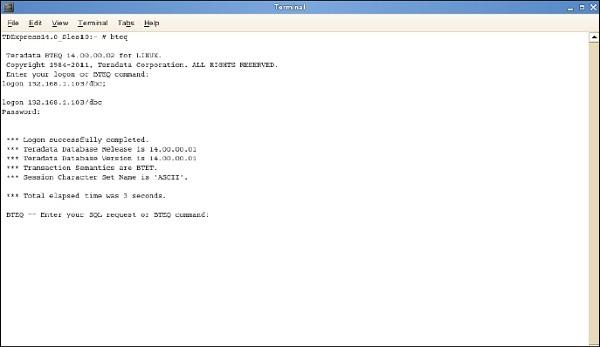
Step 2 − Run the command bteq. At the logon prompt, enter the command.
Logon <ipaddress>/dbc,dbc; and enter At the password prompt, enter password as dbc;
You can log into Teradata system using BTEQ and run any SQL queries.