Blurring an image can be done by reducing the level of noise in the image by applying a filter to an image. Image blurring is one of the important aspects of image processing.
The ImageFilter class in the Pillow library provides several standard image filters. Image filters can be applied to an image by calling the filter() method of Image object with required filter type as defined in the ImageFilter class.
There are various techniques used to blur images and we are going to discuss the below mentioned techniques.
Simple blur
Box blur
Gaussian blur
All these three techniques are going to use ‘Image.filter()’ method for applying the filter to images.
It applies a blurring effect on to the image as specified through a specific kernel or a convolution matrix.
filter(ImageFilter.BLUR)
#Import required Image library from PIL import Image, ImageFilter #Open existing image OriImage = Image.open('images/boy.jpg') OriImage.show() blurImage = OriImage.filter(ImageFilter.BLUR) blurImage.show() #Save blurImage blurImage.save('images/simBlurImage.jpg')
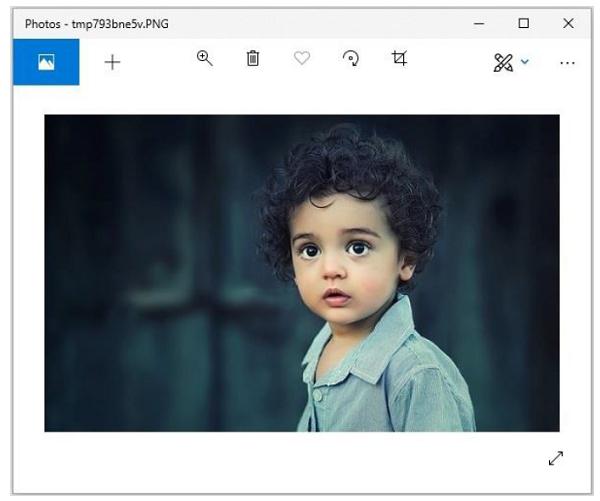
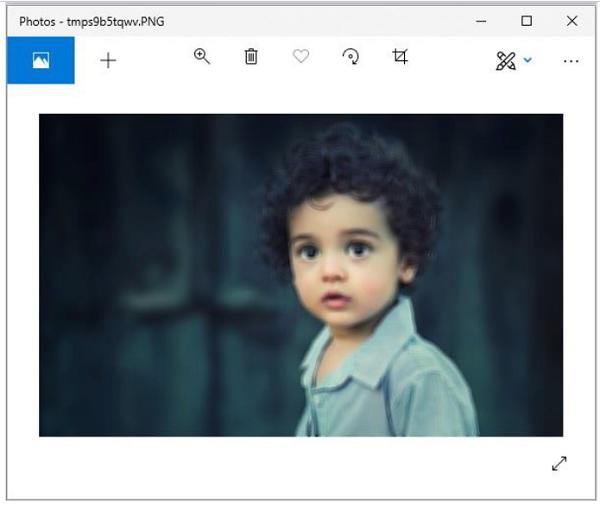
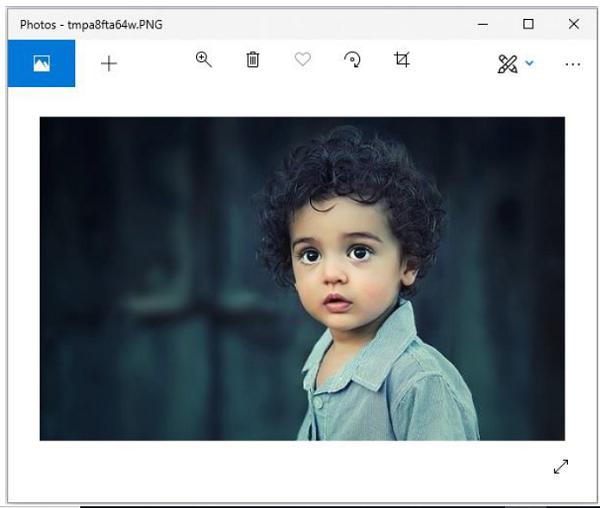
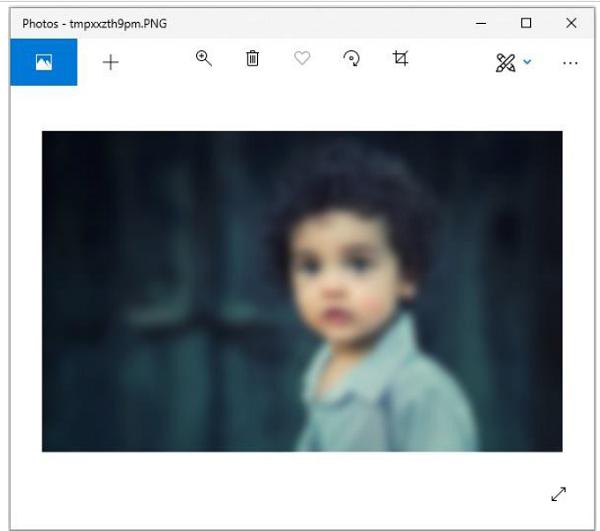
On executing, the above example generates the two standard PNG display utility windows (in this case windows Photos app).
Original image
Blurred image
In this filter, we use ‘radius’ as parameter. Radius is directly proportional to the blur value.
ImageFilter.BoxBlur(radius)
Where,
Radius − Size of the box in one direction.
Radius 0 − means no blurring & returns the same image.
RRadius 1 &minnus; takes 1 pixel in each direction, i.e. 9 pixels in total.
#Import required Image library from PIL import Image, #Open existing image OriImage = Image.open('images/boy.jpg') OriImage.show() #Applying BoxBlur filter boxImage = OriImage.filter(ImageFilter.BoxBlur(5)) boxImage.show() #Save Boxblur image boxImage.save('images/boxblur.jpg')
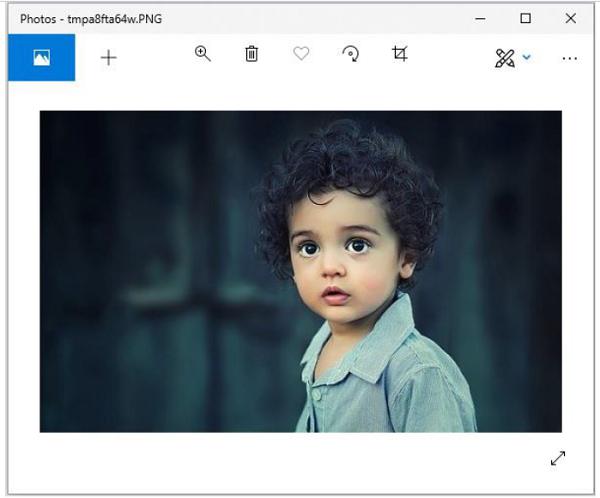
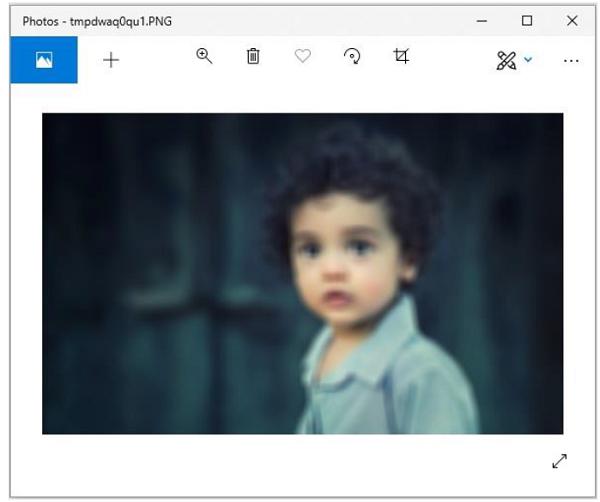
On executing, the above example generates the two standard PNG display utility windows (in this case windows Photos app).
Original image
Blurred image
This filter also uses parameter radius and does the same work as box blur with some algorithmic changes. In short, changing the radius value, will generate different intensity of ‘Gaussianblur’ images.
ImageFilter.GaussianBlur(radius=2)
Where,
Radius – Blur radius
#Import required Image library from PIL import Image, ImageFilter #Open existing image OriImage = Image.open('images/boy.jpg') OriImage.show() #Applying GaussianBlur filter gaussImage = OriImage.filter(ImageFilter.GaussianBlur(5)) gaussImage.show() #Save Gaussian Blur Image gaussImage.save('images/gaussian_blur.jpg')
On executing, the above example generates the two standard PNG display utility windows (in this case windows Photos app).
Original image
Blurred image