The Alter View statement of Impala is used to change a view. Using this statement, you can change the name of a view, change the database, and the query associated with it.
Since a view is a logical construct, no physical data will be affected by the alter view query.
Following is the syntax of the Alter View statement
ALTER VIEW database_name.view_name as Select statement
For example, assume we have a view named customers_view in the my_db database in Impala with the following contents.
+----------+-----+ | name | age | +----------+-----+ | Komal | 22 | | Khilan | 25 | | Ramesh | 32 | | Hardik | 27 | | Chaitali | 25 | | kaushik | 23 | +----------+-----+
Following is an example of Alter View Statement. In this example, we are including the columns id, name, and salary instead of name and age to the customers_view.
[quickstart.cloudera:21000] > Alter view customers_view as select id, name, salary from customers;
On executing the above query, Impala does the specified changes to the customers_view, displaying the following message.
Query: alter view customers_view as select id, name, salary from customers
You can verify the contents of the view named customers_view, using the select statement as shown below.
[quickstart.cloudera:21000] > select * from customers_view; Query: select * from customers_view
This will produce the following result.
+----+----------+--------+ | id | name | salary | +----+----------+--------+ | 3 | kaushik | 30000 | | 2 | Khilan | 15000 | | 5 | Hardik | 40000 | | 6 | Komal | 32000 | | 1 | Ramesh | 20000 | | 4 | Chaitali | 35000 | +----+----------+--------+ Fetched 6 row(s) in 0.69s
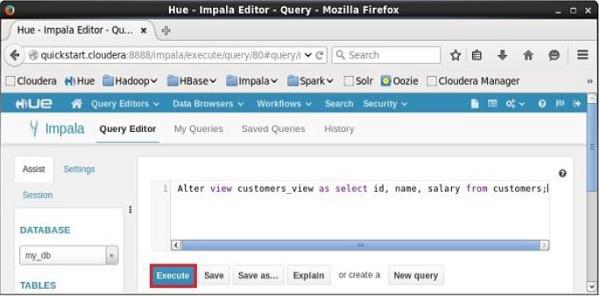
Open Impala Query editor, select the context as my_db, and type the Alter View statement in it and click on the execute button as shown in the following screenshot.
After executing the query, the view named sample will be altered accordingly.