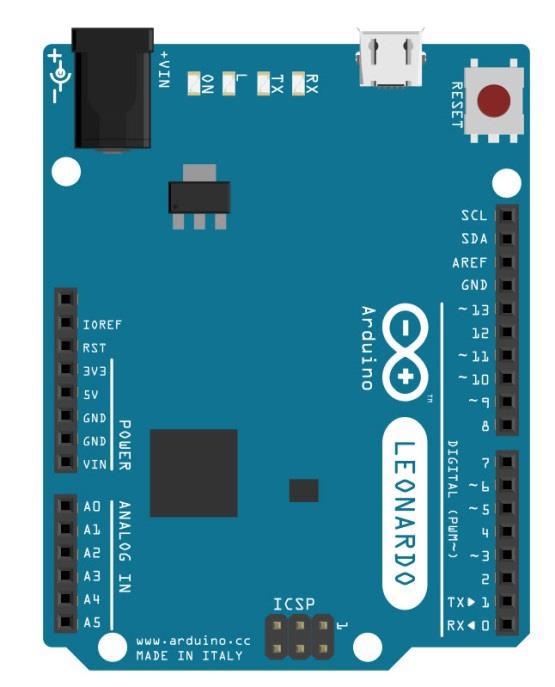
This example listens for a byte coming from the serial port. When received, the board sends a keystroke back to the computer. The sent keystroke is one higher than what is received, so if you send an "a" from the serial monitor, you will receive a "b" from the board connected to the computer. A "1" will return a "2" and so on.
Warning − When you use the Keyboard.print() command, the Leonardo, Micro or Due board takes over your computer's keyboard. To ensure you do not lose control of your computer while running a sketch with this function, set up a reliable control system before you call Keyboard.print(). This sketch is designed to only send a Keyboard command after the board has received a byte over the serial port.
You will need the following components −
Just connect your board to the computer using USB cable.
Open the Arduino IDE software on your computer. Coding in the Arduino language will control your circuit. Open a new sketch File by clicking New.
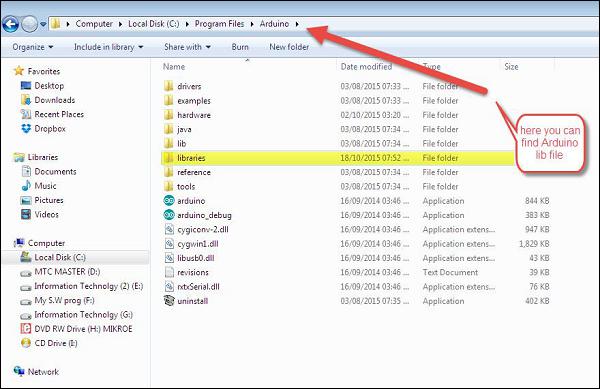
Notes − You must include the keypad library in your Arduino library file. Copy and paste the keypad library file inside the file with the name ‘libraries’ highlighted with yellow color.
/*
Keyboard test
For the Arduino Leonardo, Micro or Due Reads
a byte from the serial port, sends a keystroke back.
The sent keystroke is one higher than what's received, e.g. if you send a, you get b, send
A you get B, and so forth.
The circuit:
* none
*/
#include "Keyboard.h"
void setup() {
// open the serial port:
Serial.begin(9600);
// initialize control over the keyboard:
Keyboard.begin();
}
void loop() {
// check for incoming serial data:
if (Serial.available() > 0) {
// read incoming serial data:
char inChar = Serial.read();
// Type the next ASCII value from what you received:
Keyboard.write(inChar + 1);
}
}
Once programed, open your serial monitor and send a byte. The board will reply with a keystroke, that is one number higher.
The board will reply with a keystroke that is one number higher on Arduino IDE serial monitor when you send a byte.