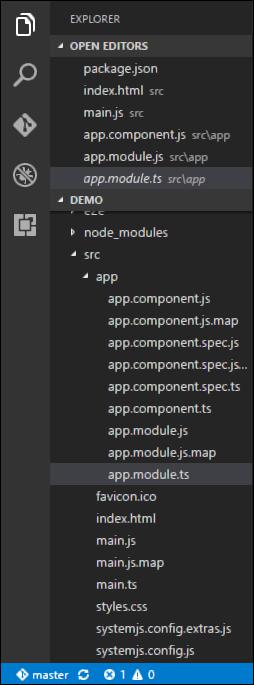
Modules are used in Angular JS to put logical boundaries in your application. Hence, instead of coding everything into one application, you can instead build everything into separate modules to separate the functionality of your application. Let’s inspect the code which gets added to the demo application.
In Visual Studio code, go to the app.module.ts folder in your app folder. This is known as the root module class.
The following code will be present in the app.module.ts file.
import { NgModule } from '@angular/core'; import { BrowserModule } from '@angular/platform-browser'; import { AppComponent } from './app.component'; @NgModule ({ imports: [ BrowserModule ], declarations: [ AppComponent ], bootstrap: [ AppComponent ] }) export class AppModule { }
Let’s go through each line of the code in detail.
The import statement is used to import functionality from the existing modules. Thus, the first 3 statements are used to import the NgModule, BrowserModule and AppComponent modules into this module.
The NgModule decorator is used to later on define the imports, declarations, and bootstrapping options.
The BrowserModule is required by default for any web based angular application.
The bootstrap option tells Angular which Component to bootstrap in the application.
A module is made up of the following parts −
Bootstrap array − This is used to tell Angular JS which components need to be loaded so that its functionality can be accessed in the application. Once you include the component in the bootstrap array, you need to declare them so that they can be used across other components in the Angular JS application.
Export array − This is used to export components, directives, and pipes which can then be used in other modules.
Import array − Just like the export array, the import array can be used to import the functionality from other Angular JS modules.